
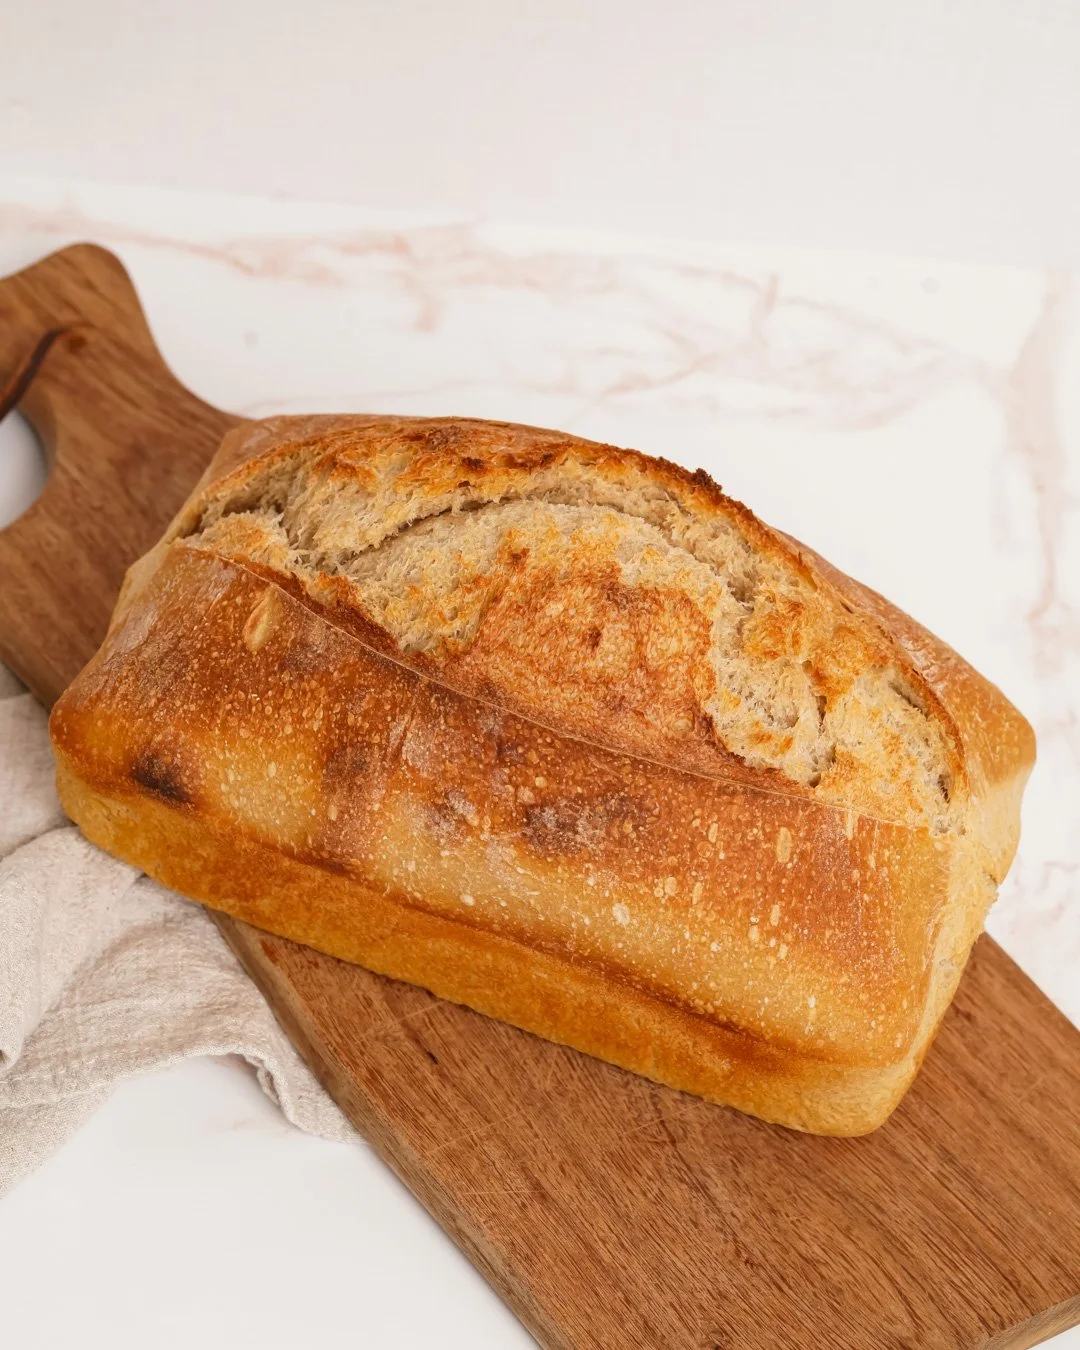
Sourdough Sandwich Bread
This recipe is a pan loaf adaptation of my classic sourdough boule. It was borne out of a necessity for sandwich bread for school lunches and my absolute determination to make the simplest dough using only the four classic bread ingredients: flour, water, salt, and yeast. In truth all that I have changed to accomplish this sandwich loaf was the method of shaping and baking. Yet while the ingredients and proofing are the same as my crusty sourdough bread, the end result is shockingly different.
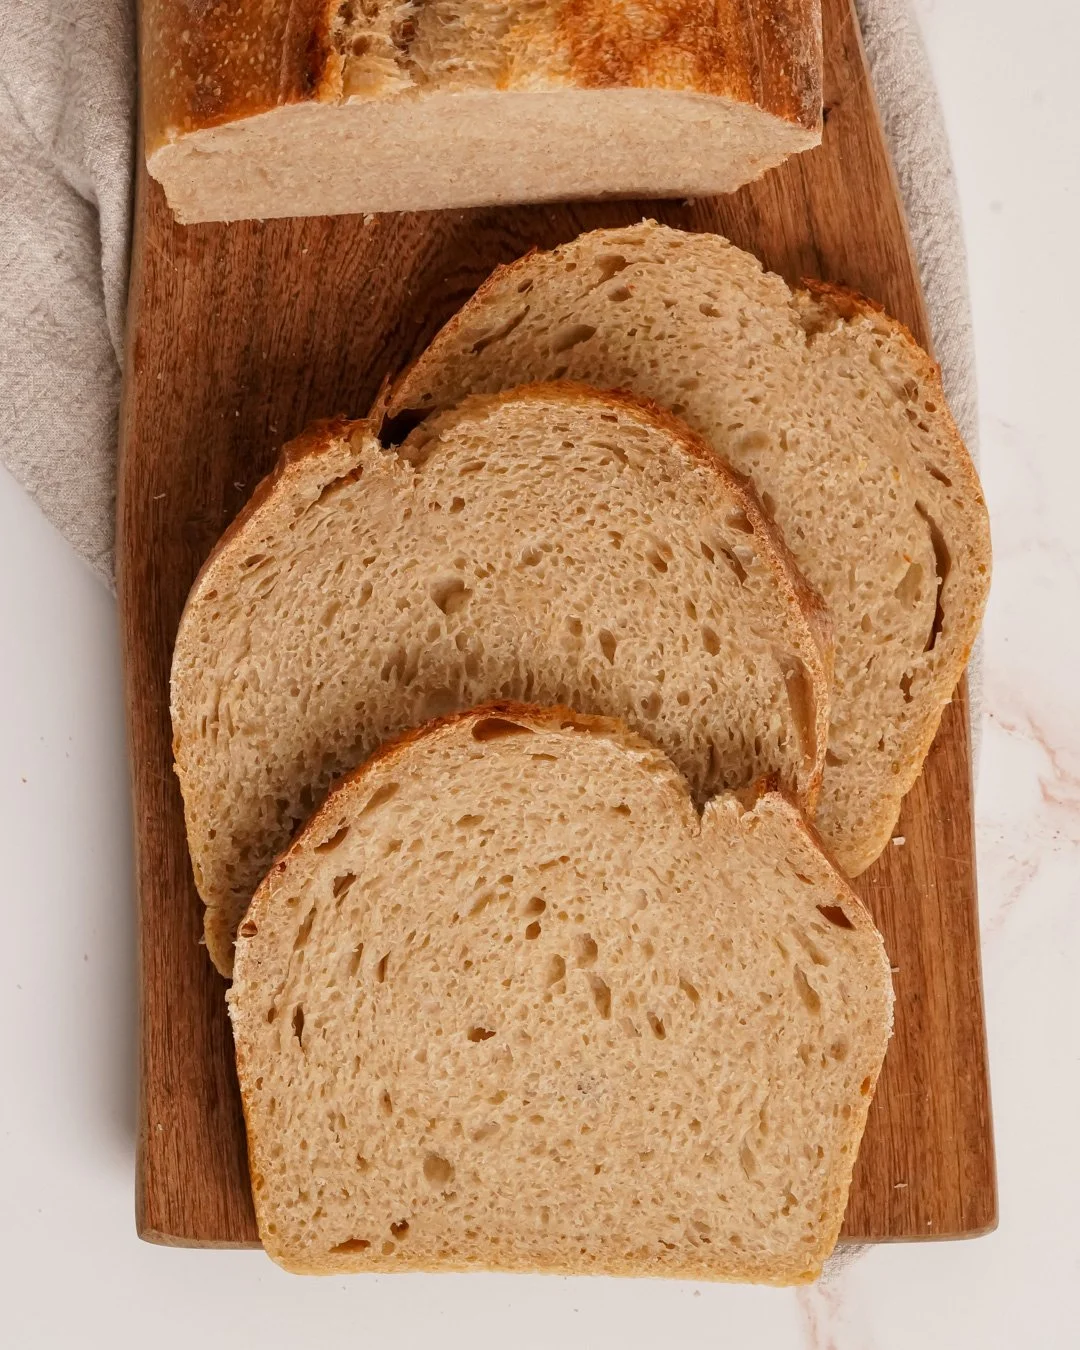
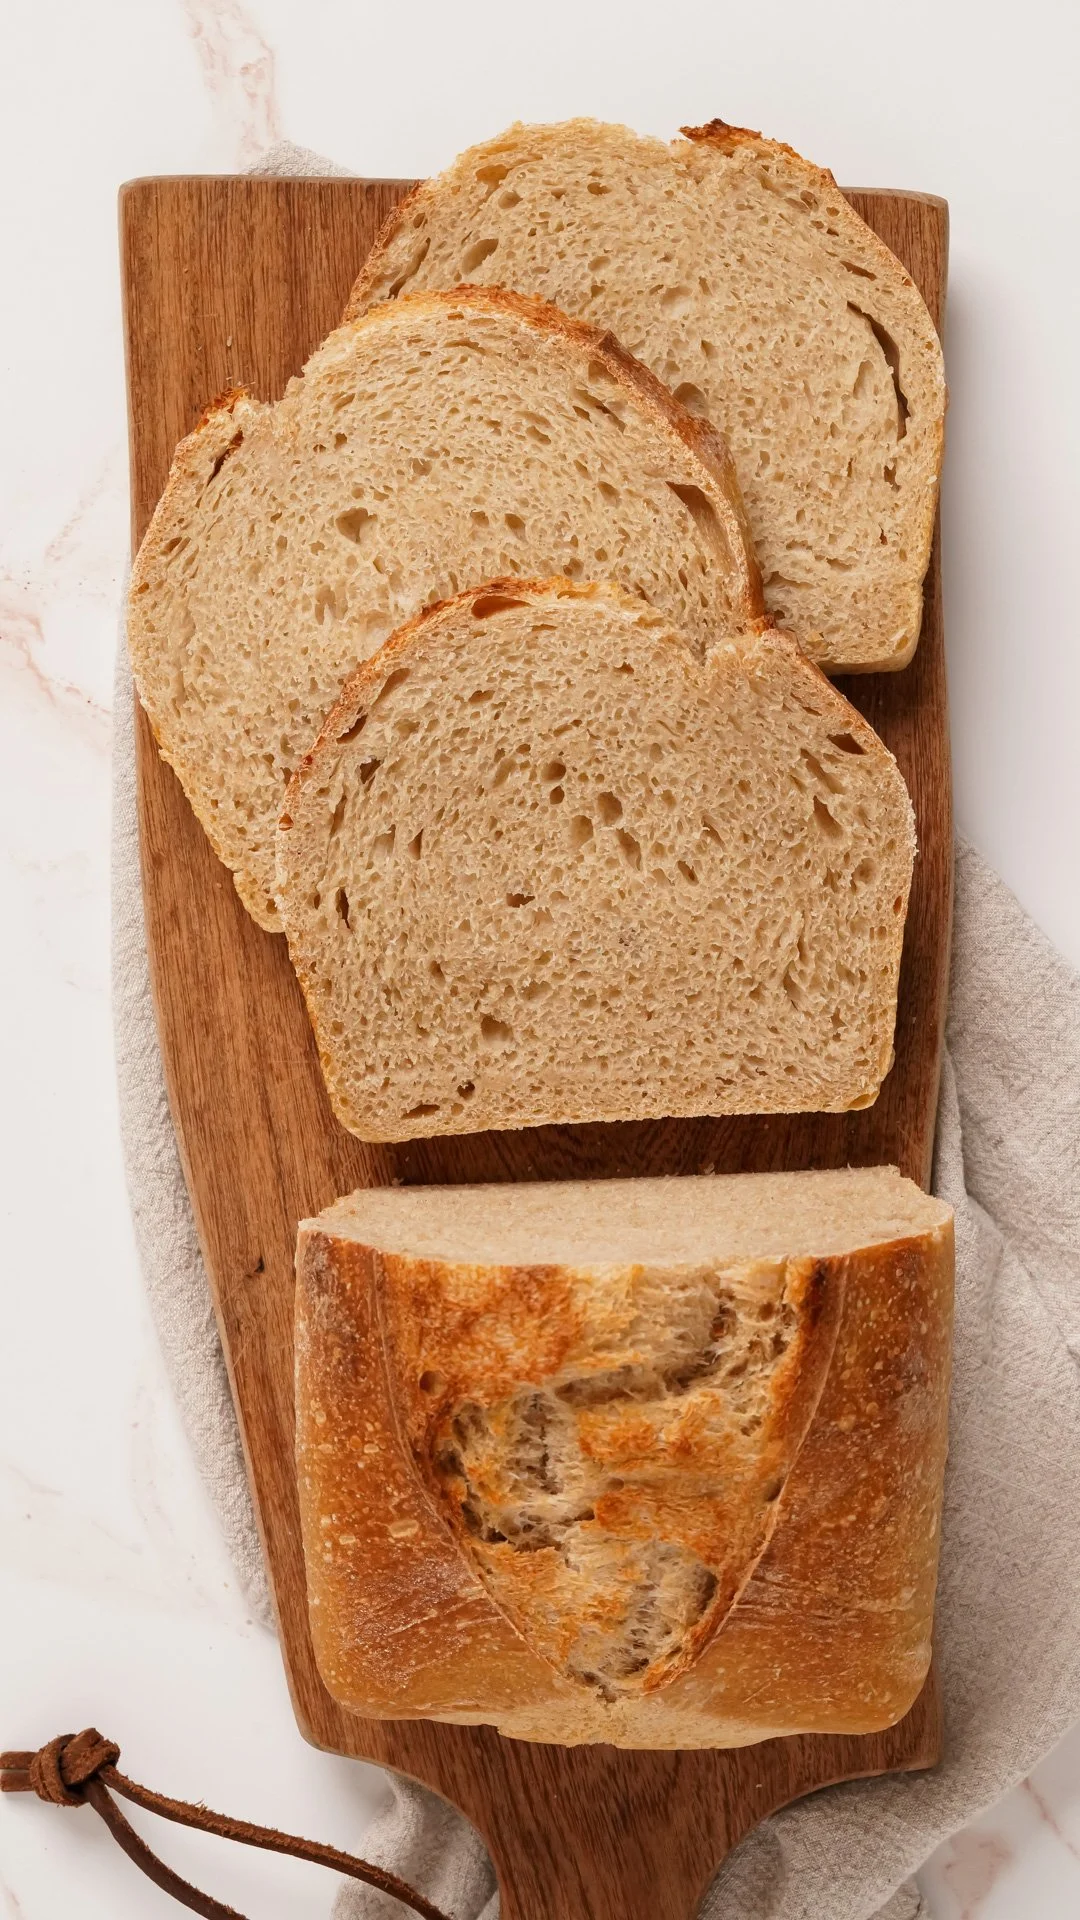
This bread is beautifully soft inside and out. The crumb is intentionally closed structured to hold sandwich filling, yet it remains light, fluffy, and delicious. The bread’s flavor is complex and savory even without enrichment from butter, milk, honey, or egg. The best part is that the dough is entirely naturally leavened, making this sandwich bread one of the most digestible and nutritious out there.
If you have never tried making sourdough bread before, I’d recommend starting with my classic sourdough recipe first and then trying this one. The method is almost entirely identical, but because the sandwich bread is degassed, the shaping and second proof of this bread are a little more tricky. It’s best to get nail down the classic variation first and then give this one a go.
I also have a sweet sourdough sandwich bread recipe that is more labor intensive than this one. That bread calls for enrichment from eggs, milk, honey, and butter, so the flavor is akin to a sweet sourdough brioche. My kids love both recipes, but sometimes you want a simple and savory bread for your sandwiches. In those cases, this recipe is your best friend.
The biggest tip I have on this bread is be sure to properly proof your dough. This recipe calls for a 3-5hour bulk fermentation and then a 1-2 hour proof at a warm room temperature before an overnight cold fermentation in the refrigerator. The extra rising time at warm room temperature is crucial to the flavor development and successful oven spring in this bread. Don’t be tempted to skip it or cut it short.
I also highly recommend that you test your leaven for fermentation prior to mixing your dough by using the float test. Winter in Colorado is no joke, so even with the heat on, my leaven takes longer to develop at this time of the year. Be patient and learn to read and listen to your dough. Each bread will always come out slightly differently, but with attention to your sourdough’s signals, you can learn to bake consistently beautiful loaves.
Sourdough Sandwich Bread - Makes 2 Loaves
Equipment:
Food scale
Food thermometer
Bench knife
Dough scraper
2 9 X 5in metal loaf pans (I use these from Wilton)
Sharp knife or Bread lame (I use this one Wire Monkey Shop)
1 Large lidded container for bulk fermentation (I use Rubbermaid 12 Qt. and lid)
1 oven safe casserole dish
Ingredients:
Bread Flour (I use central milling artisan craft plus*)
Whole Wheat Flour ( I use central milling*)
Tap water
Kosher Salt (I use Redmond Real Salt*)
Mature sourdough starter
Canola oil/spray for pan
*I’m not paid to advertise any products or brands. However, I love these products, and I think they’re the best for this recipe.
Method:
Day 1: Between 8-9 PM (this step is optional but recommended if you’re not baking daily)
Feed your starter. In a small, glass container (be sure to use one with a lid) combine 86g of warm (between 75-86ºF) water, 43g cold, mature sourdough starter, 43g of whole wheat flour, and 43g of bread flour. Stir to mix completely, close the lid, and rest on the counter overnight. I put a dish cloth under the container to keep the starter warm.
Day 2: Between 6:45-7:30 AM
Make the Leaven. Combine 200g of warm (75-85ºF) water with 100g of whole wheat flour, 100g of bread flour, and 1 heaping TBS. of the renewed starter from the night before. Mix well, cover with a lid, and rest on the counter for about 6 1/2 hours.
Autolyse stage
Day 2: Between 1:30-2:00 PM (or when the leaven passes the float test*)
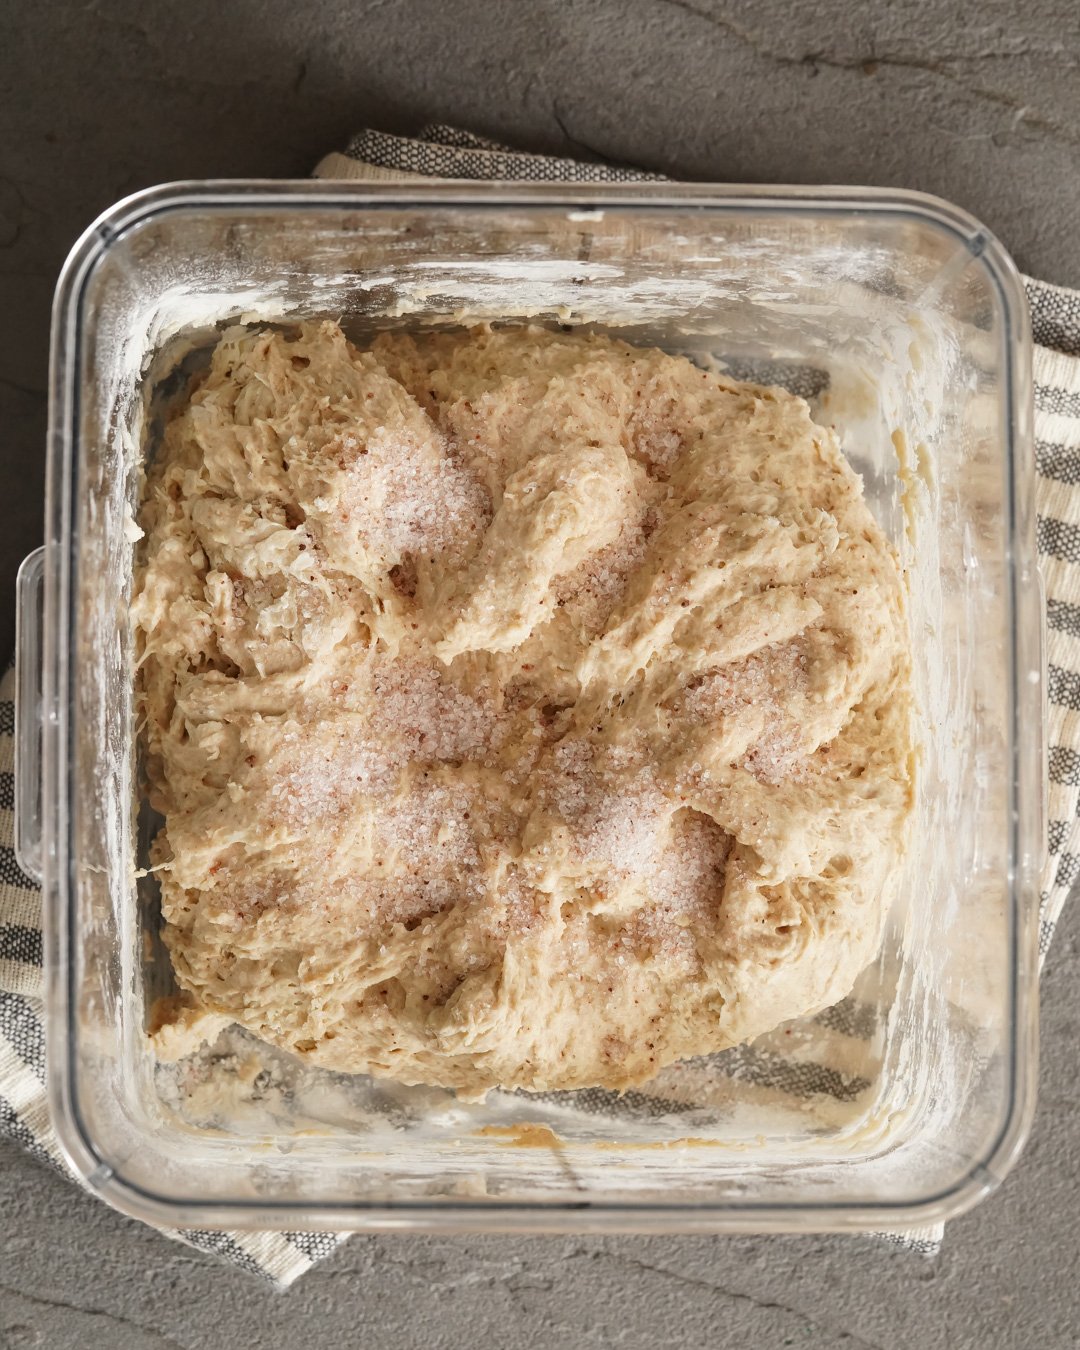
Mix the dough: Combine 700g of (75-85ºF) water in a large lidded container with 200g of leaven, 200g whole wheat flour, and 800g bread flour. Mix until well combined but do not knead. There should be no remaining clumps of flour, but the dough will look like a large shaggy mass. Top the dough with 20g of kosher salt, cover with the lid, and let rest for 30-35 min. This is called the autolyse.
After the autolyse, Add 64g of warm (75-85ºF) water to the dough. Squeeze the dough several times like you’re squeezing a lemon to incorporate the salt and water. Then pull the corners of the dough up and over to continue mixing. Do this until all the water and salt are mixed in and the dough is a uniform consistency (about 3-4 minutes). Cover and let rest for 30 minutes.
Bulk Fermentation: Turn the dough. Wet your hand to prevent sticking, and then grab a handful of the dough from a corner of your container. Pull the dough up and press it down near the opposite corner of the container as if you were wrapping up a small gift in the middle of the dough. Do this 4-6 times until all sides of the dough have been “turned.” Close the lid and let rest for 30 minutes.
Continue turning the bread every 30 minutes for 3-5 hours or until the dough has increased in size by about 25%, it feels airy and light, the surface is smooth and shiny, and it holds the shape of the last turn.
First shaping: Gently pour the dough out onto a floured surface using the dough scraper. Flour the outsides and the center line of your dough. Use your bench knife to cut your dough into two roughly equal portions. Fold each onto itself and shape into a ball using your bench knife. Douse each boule in a little more flour and allow to sit for 15-30 minutes. This is the bench rest, and the dough will relax and spread during this time.
After the bench rest, prepare your loaf pans. Pour or spray canola oil into each pan and rub it around the bottom and up the sides to fully coat the pans.
Second shaping: Lightly coat the top and sides of each boule with more bread flour. Use your bench knife to flip the dough over. Sprinkle flour on the surface and use your hands to gently degas, or deflate, the dough. Shape the dough into a rough rectangle about 2 inches thick and approximately as wide your loaf pan is long (9 in.). It doesn’t need to be perfect; you’re trying to deflate the dough a bit to form the closed structure of a sandwich bread.
Using your bench knife to release the dough from the countertop, gently pull the bottom of the dough down and then fold it up towards the middle of the rectangle. Then gently pull the top up and fold it down to the bottom of the dough, as if you were folding a letter to fit in an envelope. Use your fingers to gently pinch the right and left sides together. Then flour the top of the dough, and use your bench knife to flip the dough onto the seam you just created, and transfer it into one of your prepared loaf pans. If needed adjust the dough so it sits neatly in the pan by gently folding the sides under. Repeat this shaping process with the other portion of dough.
Allow the dough to rise in the pans at a warm room temperature for 1-2 hours. Then cover the pans with a tea towel, and retard the dough in the refrigerator over night.

Dough immediately after the first set of turns
Day 3: Between 5:30-9:30AM (Or really whenever you’re ready to bake)
Preheat the oven to 450ºF with the oven rack in the lower third of the oven. Fill the casserole dish with several inches of tap water and place it on the bottom rack while preheating. Allow the oven to reach 450 for 20-30 minutes before baking bread for the best results.
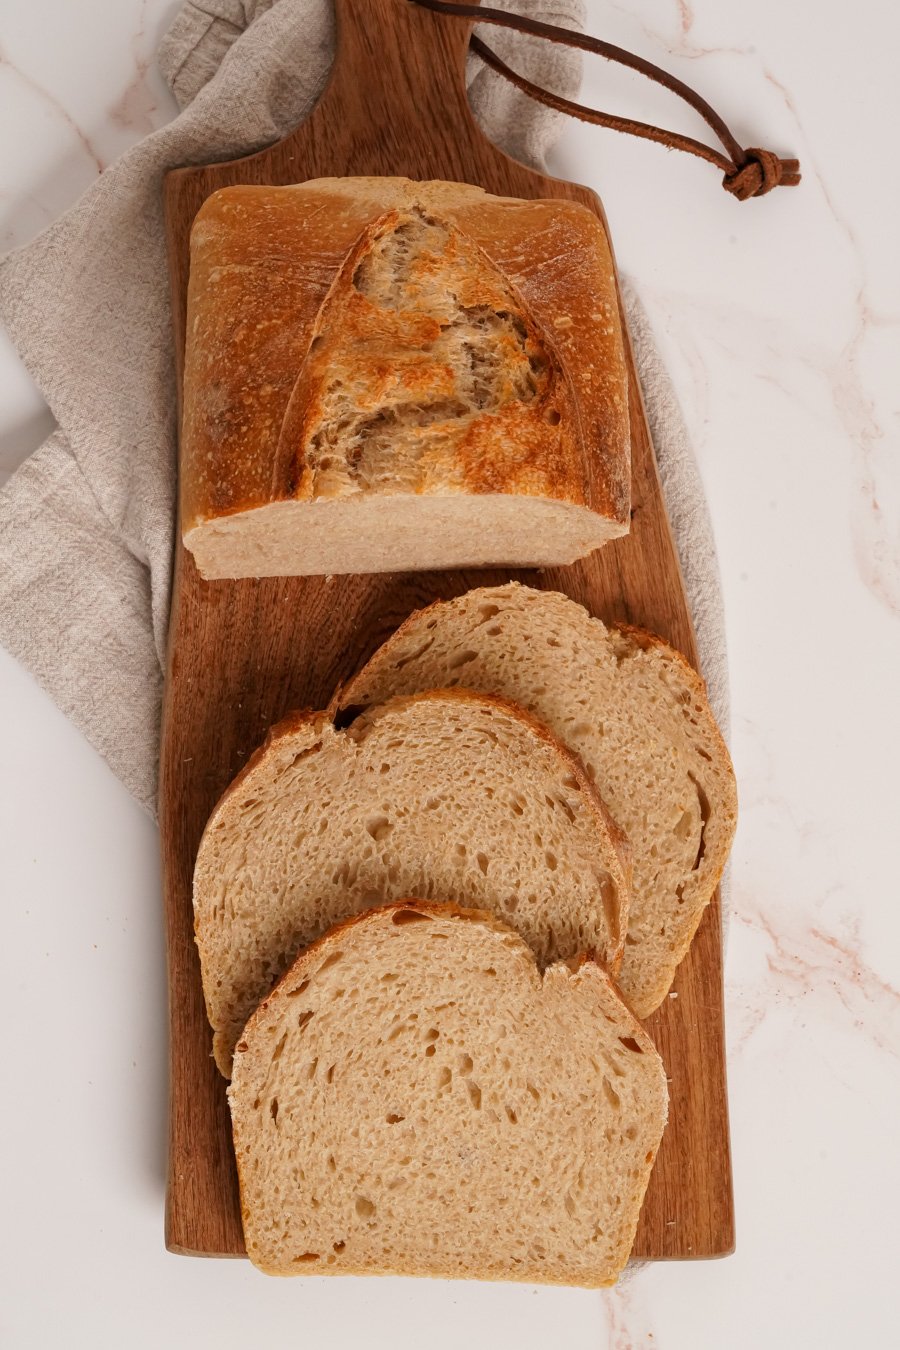
Once the oven is fully preheated, remove your bread from the refrigerator. Score your loaf with a sharp knife or bread lame by making a deep cut down the center for your bread from one end all the way to the next. Place your loaves on a baking sheet and transfer them to the oven. Bake for 20 minutes. Then lower the oven temperature to 375ºF and bake for an additional 15 minutes.
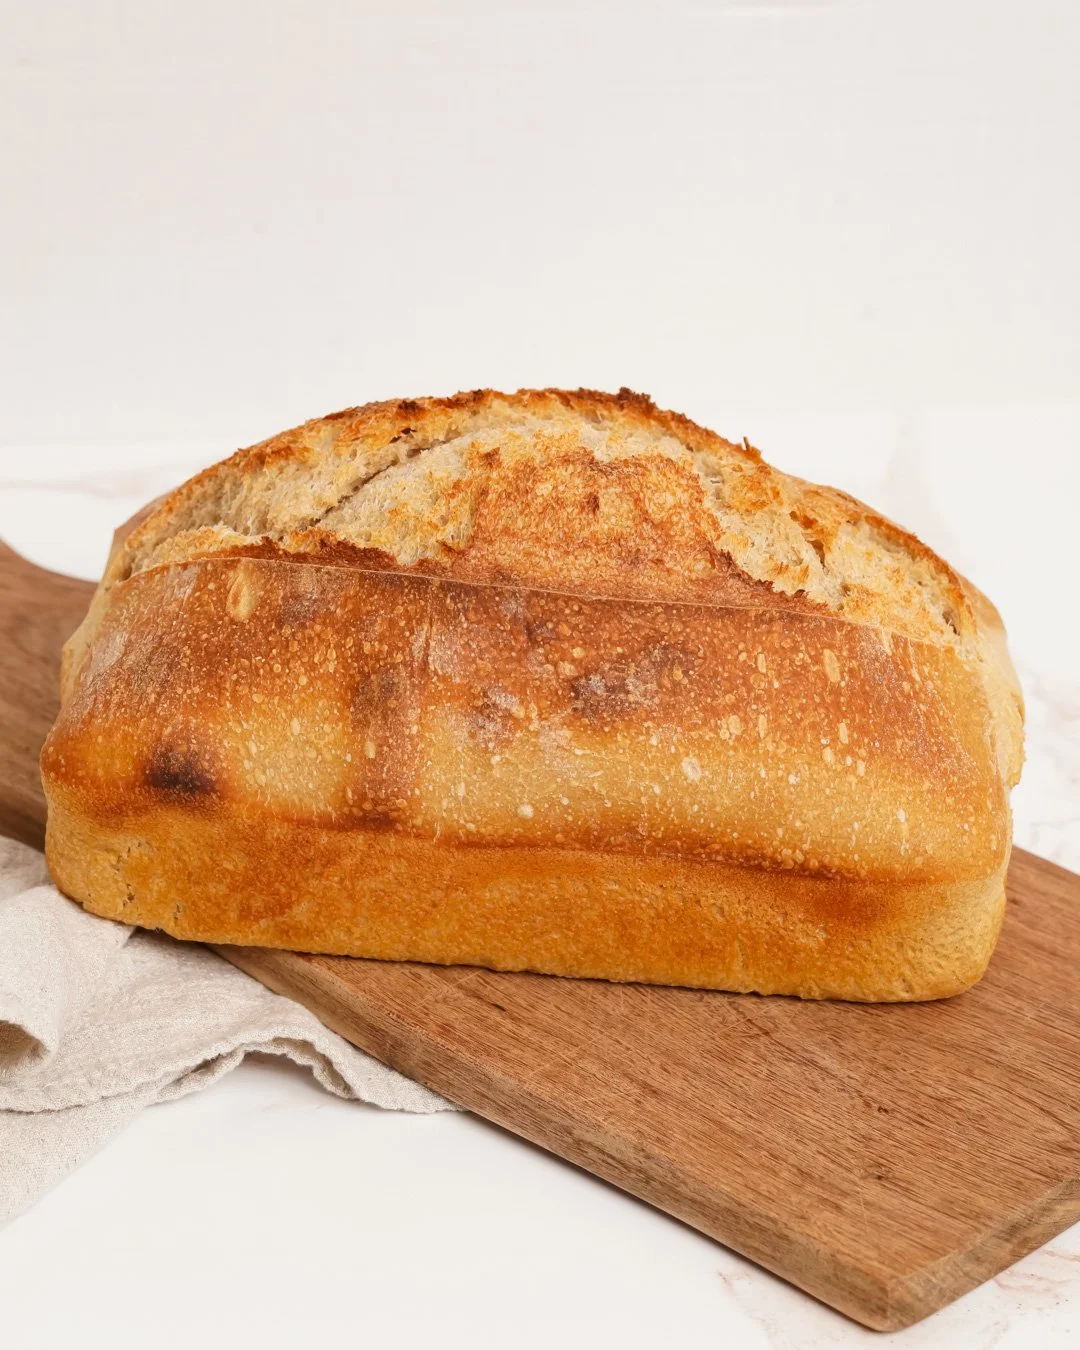
After 15 minutes, check the bread to make sure it’s not browning too much. If it’s darkening quickly, gently tent the loaves with aluminum foil and continue baking for another 10-15 minutes. The bread should bake for a total of 45-50 minutes and reach an internal temperature of 210ºF. Remove the bread from the oven, gently flip it out of the loaf pans, and then set it on the stove or a cooling rack for at least 15 minutes before cutting.
Store bread in an airtight container or plastic ziploc bag at room temperature. Best eaten within 3 days of baking (but will keep longer).