

Rustic Sourdough Bread
I’m in one of those spartan moments in life: the kind where lipstick stained coffee cups stack up by the kitchen sink and laundry amasses in mountains, waiting to be folded. I’ve taken on a new full time job, teaching again, and my house has not yet figured out what it means to be home alone. I’m OK with that.
Because, to be honest, I haven’t been giving my whole heart to house keeping or errand running for quite some time now. Homemaking has long ago lost its luster, and I finally realized I needed something else to give my heart to. So I’m all in now, time and thoughts and love, trying to plant a little seed of knowledge, or at least responsibility, in this new group of students.
But what I notice, as I always have, is that even while my time and creativity flee from house projects and dinner routines, I am still baking bread. Always baking bread. Once or twice a week, I bring out the old starter, sift various grains with water and salt, and some crackly, crusty loaves are born.
Some part of me knows this is because I am addicted to carbohydrates and Colorado Springs is woefully devoid of good, artisanal bakeries to satisfy my dependency. But while my sugar cravings are being lately appeased with scroungings around in the bottom of the kids’ stash of Halloween candy, nothing but homemade bread will suffice for that other itch. The good bread itch.
The other, philosophical part of me recognizes that sourdough baking is not as one sided as the chemical baking of cakes and cookies. Where I can tuck my baking powders and sodas safely away for months at a time, my sourdough and I have a much more needy kind of relationship. Two weeks go by and my starter mutes to gray, separates to liquid and tacky putty. And while I’ve ready about the longevity of sourdough starters, I am not about to risk my precious to see what happens after months of starvation.

You see, my starter and I are codependent. It needs me to feed and refresh it, and I need it in order to feel nourished, happy, and, well, myself. And wonderfully, amazingly, my starter has stuck with me, even grown with me, through all the years of my adult life. From California to Boston; from D.C. to Colorado and Arizona; this starter has adapted to various recipes and humidities, fermentation times and kneading methods. And despite being one of the first endeavors that I gave my whole heart to, I am not done yet. I hope I will keep baking sourdough throughout my life. I hope my recipe will continue to evolve and my skills sharpen; just as my I hope my sourdough will strengthen, grow, and become more complex with age.

For now, this is my latest favorite recipe for sourdough bread. I’ve modified ratios, added more whole grains and reduced some waste. I’ve also adjusted baking times and temperatures to what works best right now. That being said, this recipe is my love story with my unique sourdough; your story may be the same, or it may need some tweaking all its own.

Rustic Sourdough Bread- Makes 2 Loaves
Equipment:
Food scale
Food thermometer
Bench knife
Dough scraper
2 9in proofing baskets (I use these from Bread Bosses)
Bread lame (I use this one Wire Monkey Shop)
1 Large lidded container for bulk fermentation (I use Rubbermaid 12 Qt. and lid)
1 or 2 dutch oven combo cookers (I use these from Lodge)
1 spray bottle filled with water (optional and only for seasoning your bread baskets)
Really good pair of oven mitts
Ingredients:
Bread Flour (I use central milling artisan craft plus*)
Whole Wheat Flour ( I use King Arthur*)
Tap water
Kosher Salt (I use Redmond Real Salt*)
Mature sourdough starter
Rice flour for dusting
*I’m not paid to advertise any products or brands. However, I love these products, and I think they’re the best for this recipe.

Method:
Day 1: Between 8-9 PM (this step is optional but recommended if you’re not baking daily)
Feed your starter. In a small, glass container (be sure to use one with a lid) combine 86g of warm (between 75-86ºF) water, 46g cold, mature sourdough starter, 46g of whole wheat flour, and 46g of bread flour. Stir to mix completely, close the lid, and rest on the counter overnight. I put a dish cloth under the container to keep the starter warm.
Day 2: Between 6:45-8:45 AM
Make the Leaven. Combine 86g of warm (75-85ºF) water with 46g of whole wheat flour, 46g of bread flour, and 48g of the renewed starter from the night before. Mix well, cover with a lid, and rest on the counter for about 8 hours.
Day 2: Between 3:00-5:00 PM (or when the leaven passes the float test*)
Mix the dough: In a large lidded container, combine 700g of warm (75-85ºF) water with 200g leaven (about the entire amount), 200g whole wheat flour (or another whole grain such as rye or barley), and 800g bread flour. Mix until well combined but do not knead. There should be no remaining clumps of flour, but the dough will look like a large shaggy mass. Top the dough with 20g of kosher salt, cover with the lid, and let rest for 30-40 min. This is called the autolyse.
Add 60-80g** of warm (75-85ºF) water to the dough. Squeeze the dough several times like you’re squeezing a lemon to incorporate the salt and water. Then pull the corners of the dough up and over to continue mixing. Do this until all the water and salt are mixed in and the dough is a uniform consistency (about 3-4 minutes). Cover and let rest for 30 minutes.
Bulk Fermentation: Turn the dough. Wet your hand to prevent sticking, and then grab a handful of the dough from a corner of your container. Pull the dough up and press it down near the opposite corner of the container as if you were wrapping up a small gift in the middle of the dough. Do this 4-6 times until all sides of the dough have been “turned.” Close the lid and let rest for 30 minutes.
Continue turning the bread every 30 minutes for 3-5 hours or until the dough has increased in size by about 25%, it feels airy and light, the surface is smooth and shiny, and it holds the shape of the last turn.
First shaping: Gently pour the dough out onto a floured surface using the dough scraper. Flour the outsides and the center line of your dough. Use your bench knife to cut your dough into two roughly equal portions. Fold each onto itself and shape into a ball using your bench knife. Douse each boule in a little more flour and allow to sit for 15-30 minutes. This is the bench rest, and the dough will relax and spread during this time.
After the bench rest, prepare your bread baskets. Spray them with a little water (if they’re new) and coat them evenly each with a handful of rice flour and a handful of bread flour. It is better to be liberal with the flour than not, especially when your baskets are new. As you use them, you will not need to spray water on the bread baskets or use as much flour.
Second shaping: Lightly coat the top and sides of each boule with more bread flour. Use your bench knife to flip the dough over. Gently pull the bottom of the dough down and then fold it up towards the middle of the ball. Then gently pull the right side of the dough over to the right before folding it back towards the middle. Repeat this on the left and the top before lightly flipping the entire boule back over onto its seam. Flour the top again and use your hands and the bench knife to gently pull the boule this way and that, forming a more rounded ball and building more tension. Let the dough rest for a minute, then gently scoop the dough up with the bench knife, flip it into your hands and place it into one of the prepared bread baskets. Repeat with the other boule. Coat the seam with a little rice flour, cover the baskets with a tea towel, and retard the dough in the refrigerator over night.
Day 3: Between 5:30-9:30AM (Or really whenever you’re ready to bake)
Preheat the oven to 500ºF with the dutch oven combo cooker inside on the bottom rack. Allow it to reach 500 for 20-30 minutes before baking bread for the best results.
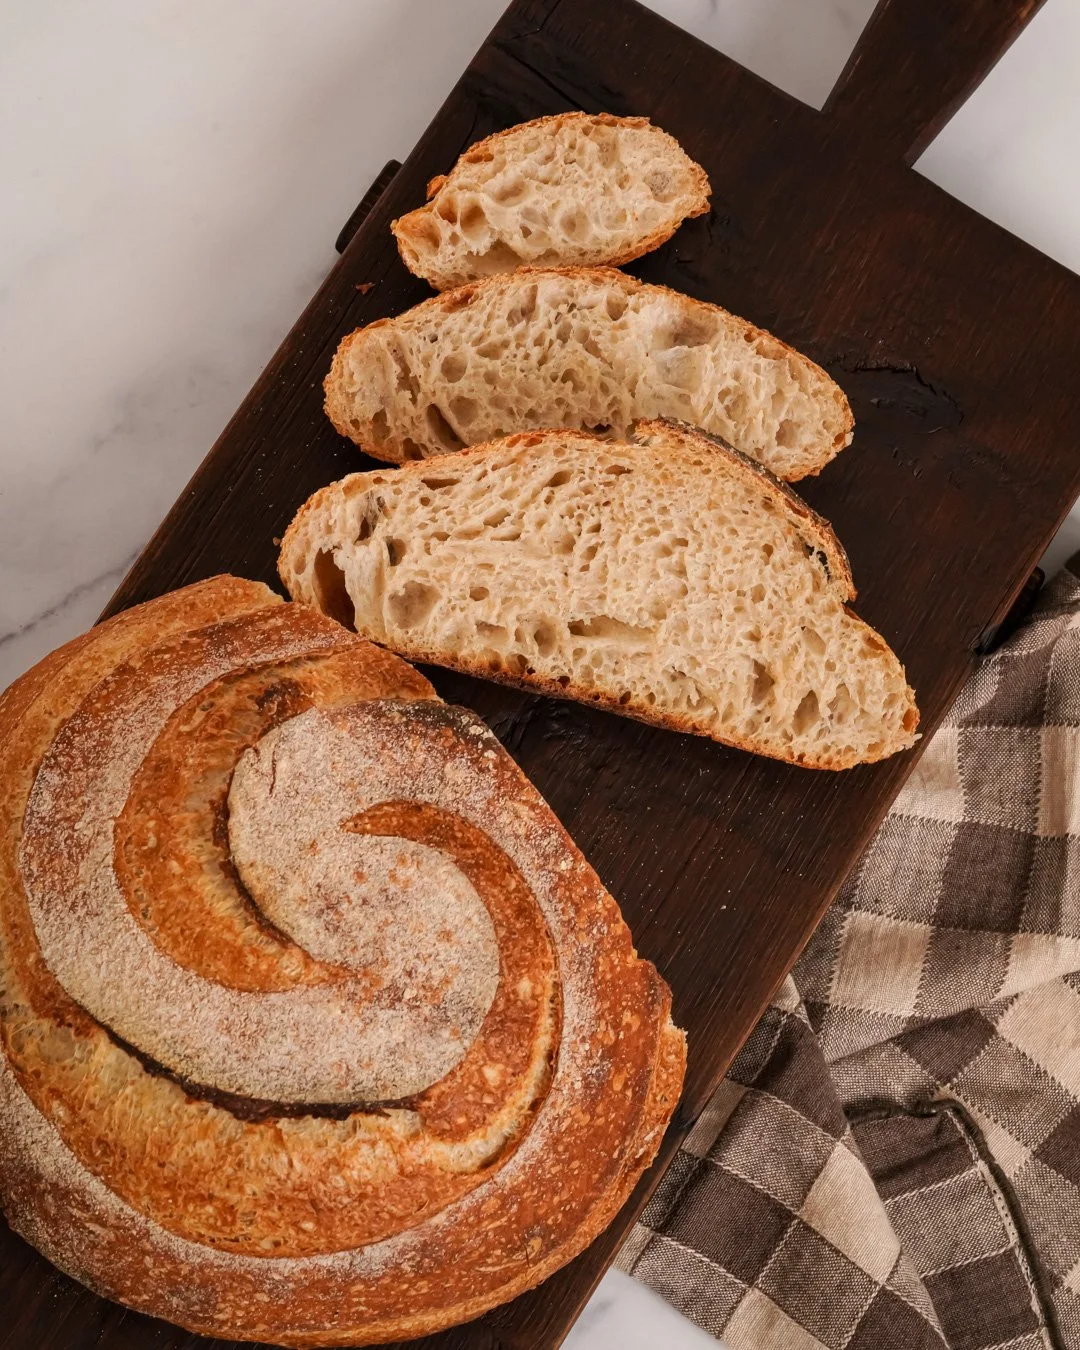
Once the oven is fully preheated, remove the dutch oven using good oven mitts. Carefully transfer the bread to the lid of the dutch oven (the shallow pan) by either flipping it directly onto the pan from the bread basket or flipping it onto a parchment round or pizza peel dusted with rice flour and sliding it to the pan.*** Quickly but carefully score your loaf, and then cover the loaf with the bottom of the combo cooker (the deeper pan). Very carefully (it’s hot and heavy) transfer the bread in the combo cooker into the oven. Bake covered for 25 minutes.
After 25 minutes, lower the oven temperature to 425ºF and continue to bake for 10 minutes longer.
After 10 minutes, remove the cover from the combo cooker, but leave the bread on the shallow pan. Continue baking for another 4-6 minutes or until the crust is nicely caramelized all over. Remove the bread from the oven, and then set it on the stove or a cooling rack for at least 15 minutes before cutting.
Return the pan to the oven, raise the temperature to 500ºF, and preheat for 20 minutes. Repeat the scoring and baking process with the second loaf. Alternatively, if you have two dutch ovens, you can bake both loaves at the same time.
Note: My house is usually about 72ºF, with little humidity. If you are finding that your dough is not rising or developing over the course of 5 hours of bulk fermentation, try putting the dough in the oven with the light turned on. You can also put a pan of boiling hot water in the oven with the dough to increase fermentation rates. However, I do not recommend keeping your dough too warm. A rapid fermentation will prevent your dough from developing enough tension, and you will end up with a flatter and chewier bread. I’ve had the best results with 3-5 hours of bulk fermentation.
*To test your leaven using the float test, drop a tablespoon of leaven into water. If the leaven floats at the surface of the water completely, it’s ready to mix into dough. If not allow the leaven to mature for an hour or two longer before mixing the dough. Once you’re familiar with you’re leaven, you’ll be able to skip this test, but your entire leaven should float in the
**If you’re newer to bread baking, stick to 60g of water. The more water you add, the stickier your dough will be, and the more difficult to handle. In time, you will be more comfortable shaping your dough and may prefer, as I do, extra hydration in your loaves.
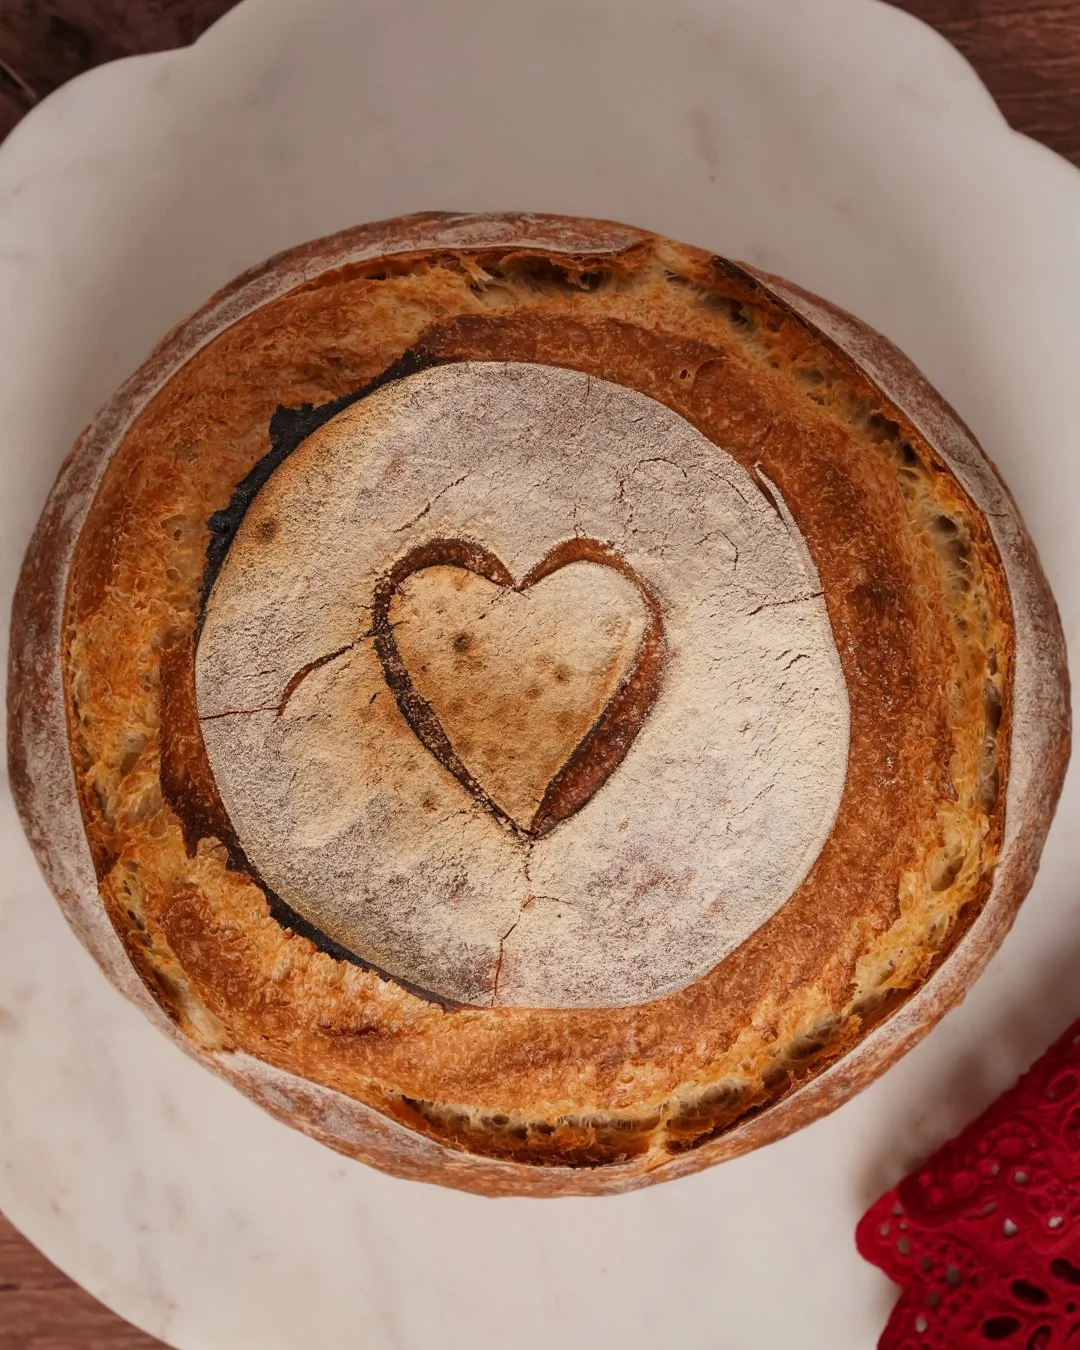
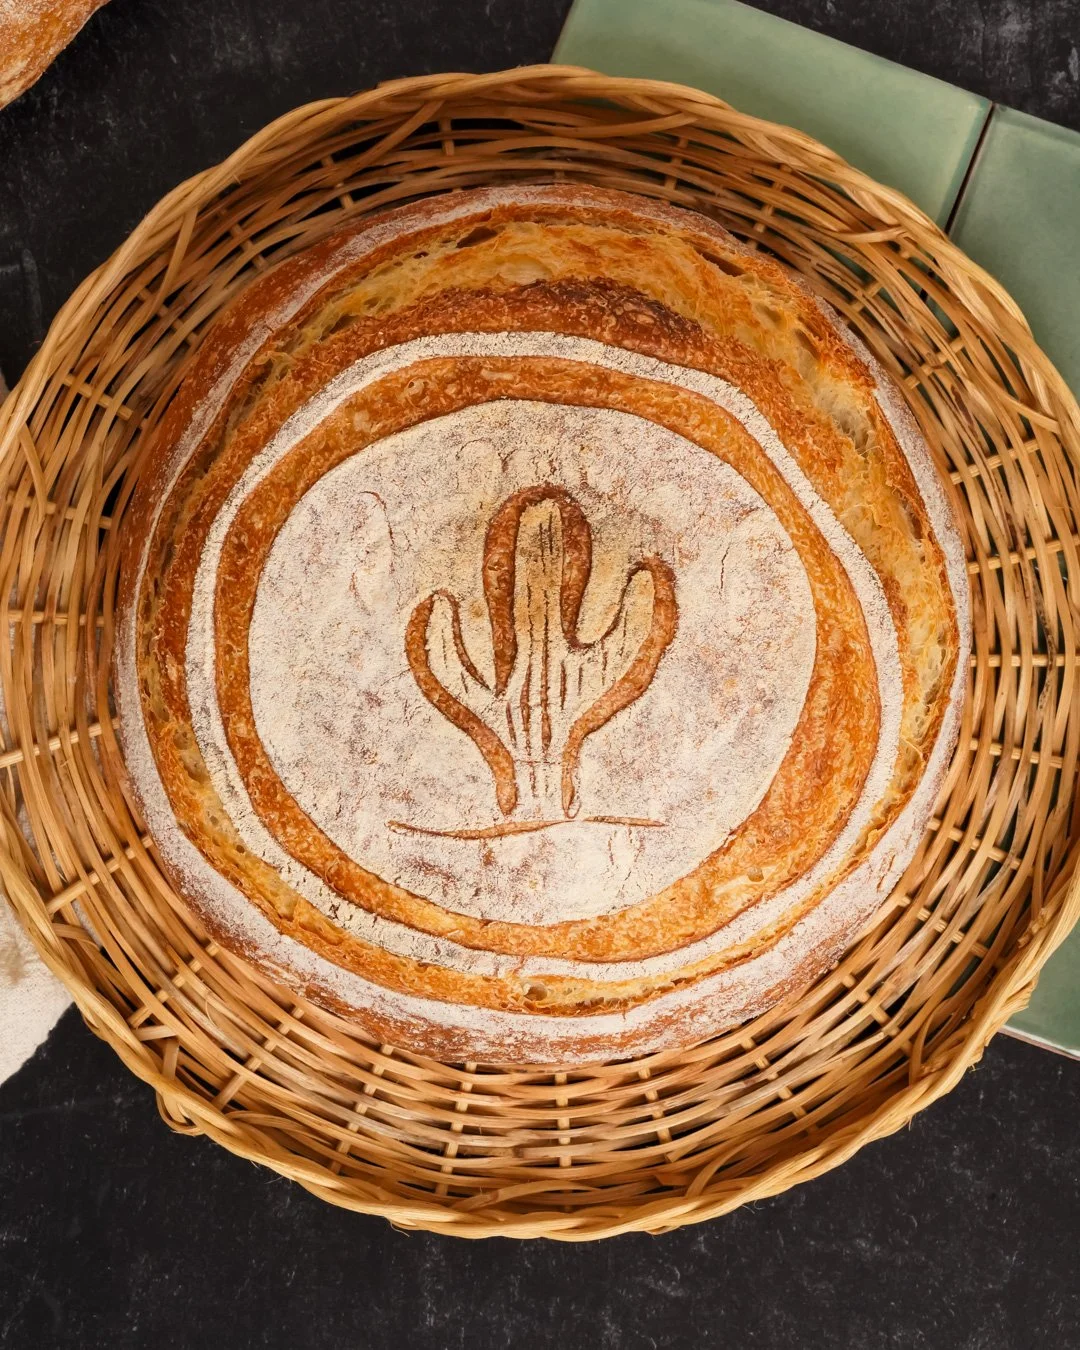
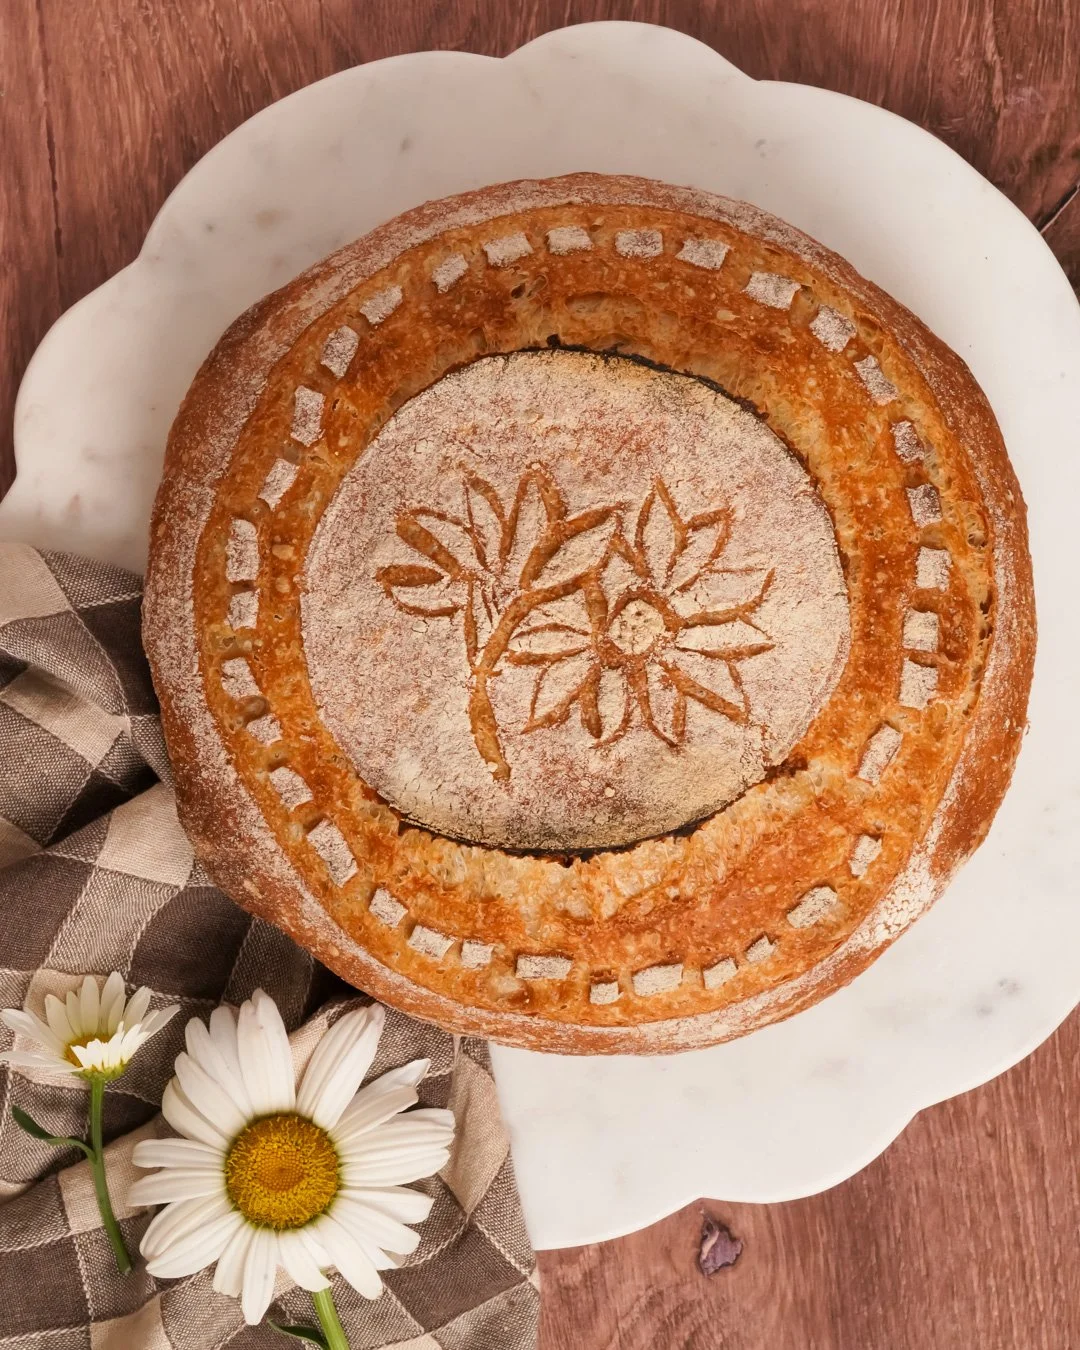
***For more intricate scoring patterns, transfer the dough to a parchment round while leaving the combo cooker in the oven to heat. For first time bakers, I recommend a simple square score which you can execute in the hot pan. For more detailed scoring tips and tricks, check out my Bread Scoring Guide
Citations:
McGee, Harold. On Food and Cooking: The Science and Lore of the Kitchen. New York, Scribner, 2004.
Pollan, Michael. Cooked: A Natural History of Transformation. Penguin, 2013.
Robertson, Chad. Tartine Bread. San Francisco, Chronicle Books, 2010.