

Old Fashioned Hot Chocolate + Homemade Marshmallows
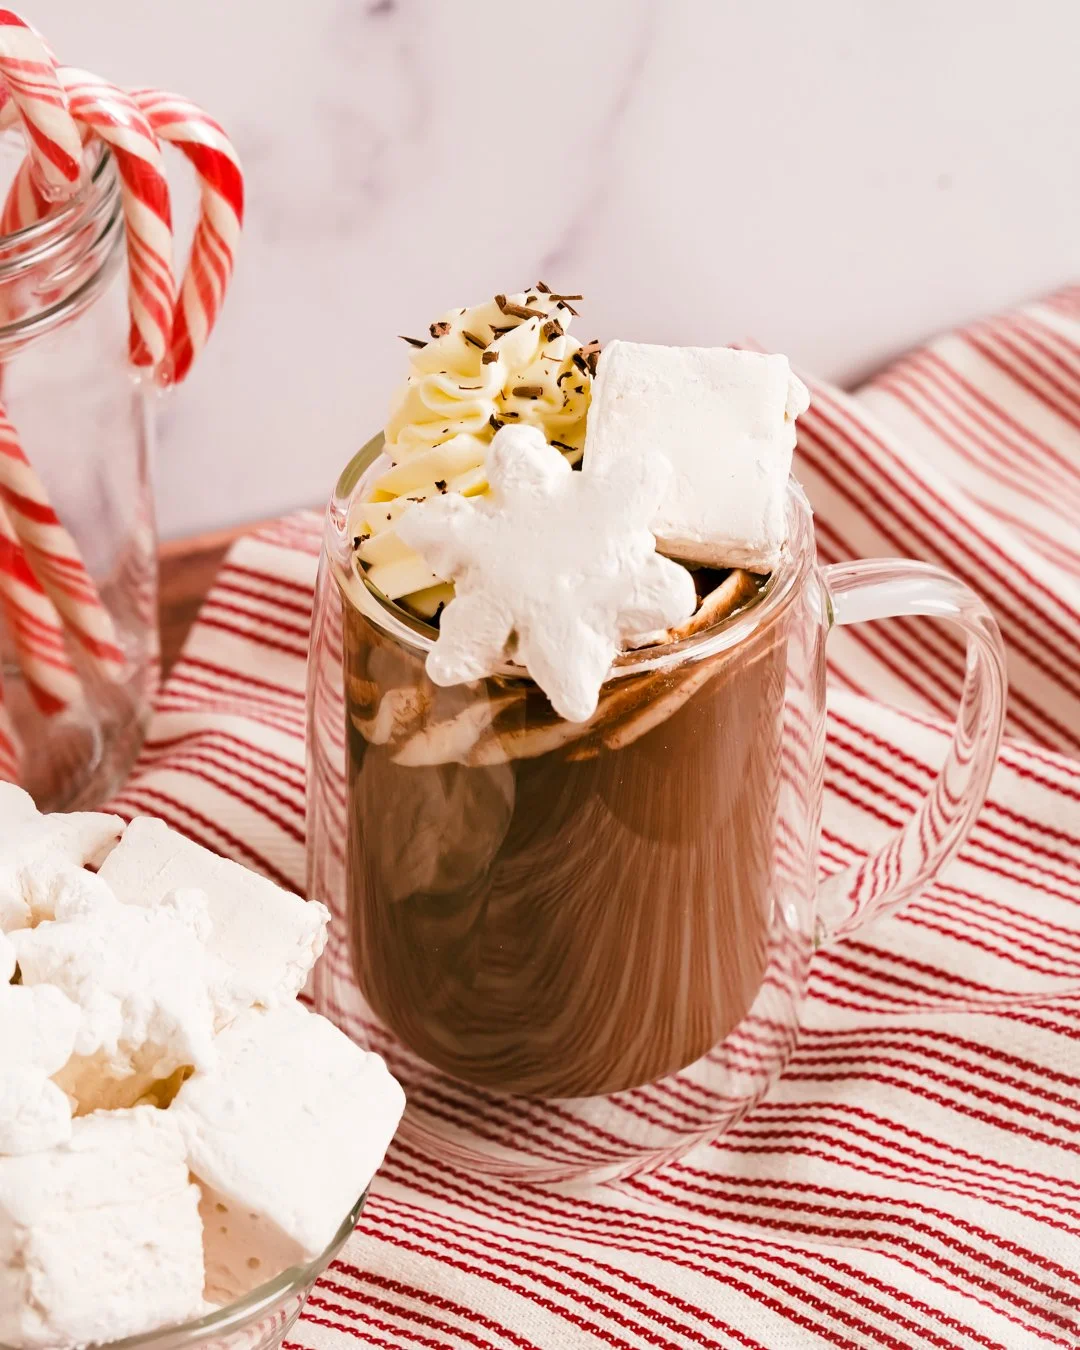
When temperatures dip and snow blows in, there’s really nothing I love more than making and drinking hot chocolate with my kids. And truly there is no better version than this thoroughly homemade cocoa with hand whipped sweet cream and the best homemade marshmallows.
There’s only four ingredients in this cocoa, and it’s super easy to make. But it is truly the richest and most delicious hot chocolate out there. Plus you can combine the dry ingredients in advance for your own, ready-made hot cocoa mix. In the past I’ve even pre-portioned the mix into sweet little mason jars, attached a bag of these homemade marshmallows, and given kits of the best hot chocolate as Christmas gifts.
The only tip I have for the cocoa is to make sure your milk is boiling hot. If it’s not hot enough, the chocolate won’t melt properly, and you’ll end up with chocolate in milk instead of hot cocoa. Because I heat the milk to boiling, I always strain the cocoa as I’m pouring it into the mugs. This will catch any milk skin that forms and ensure that your drinks are rich and smooth.
You can also adjust this recipe for peppermint or Mexican hot chocolate. For peppermint, simply add a half teaspoon of peppermint extract and garnish with little candy cane crumbles. For Mexican hot chocolate add 1/2 tsp. of cinnamon and 1/8 tsp. of ground chili powder. For this version a cinnamon stick makes a nice garnish.
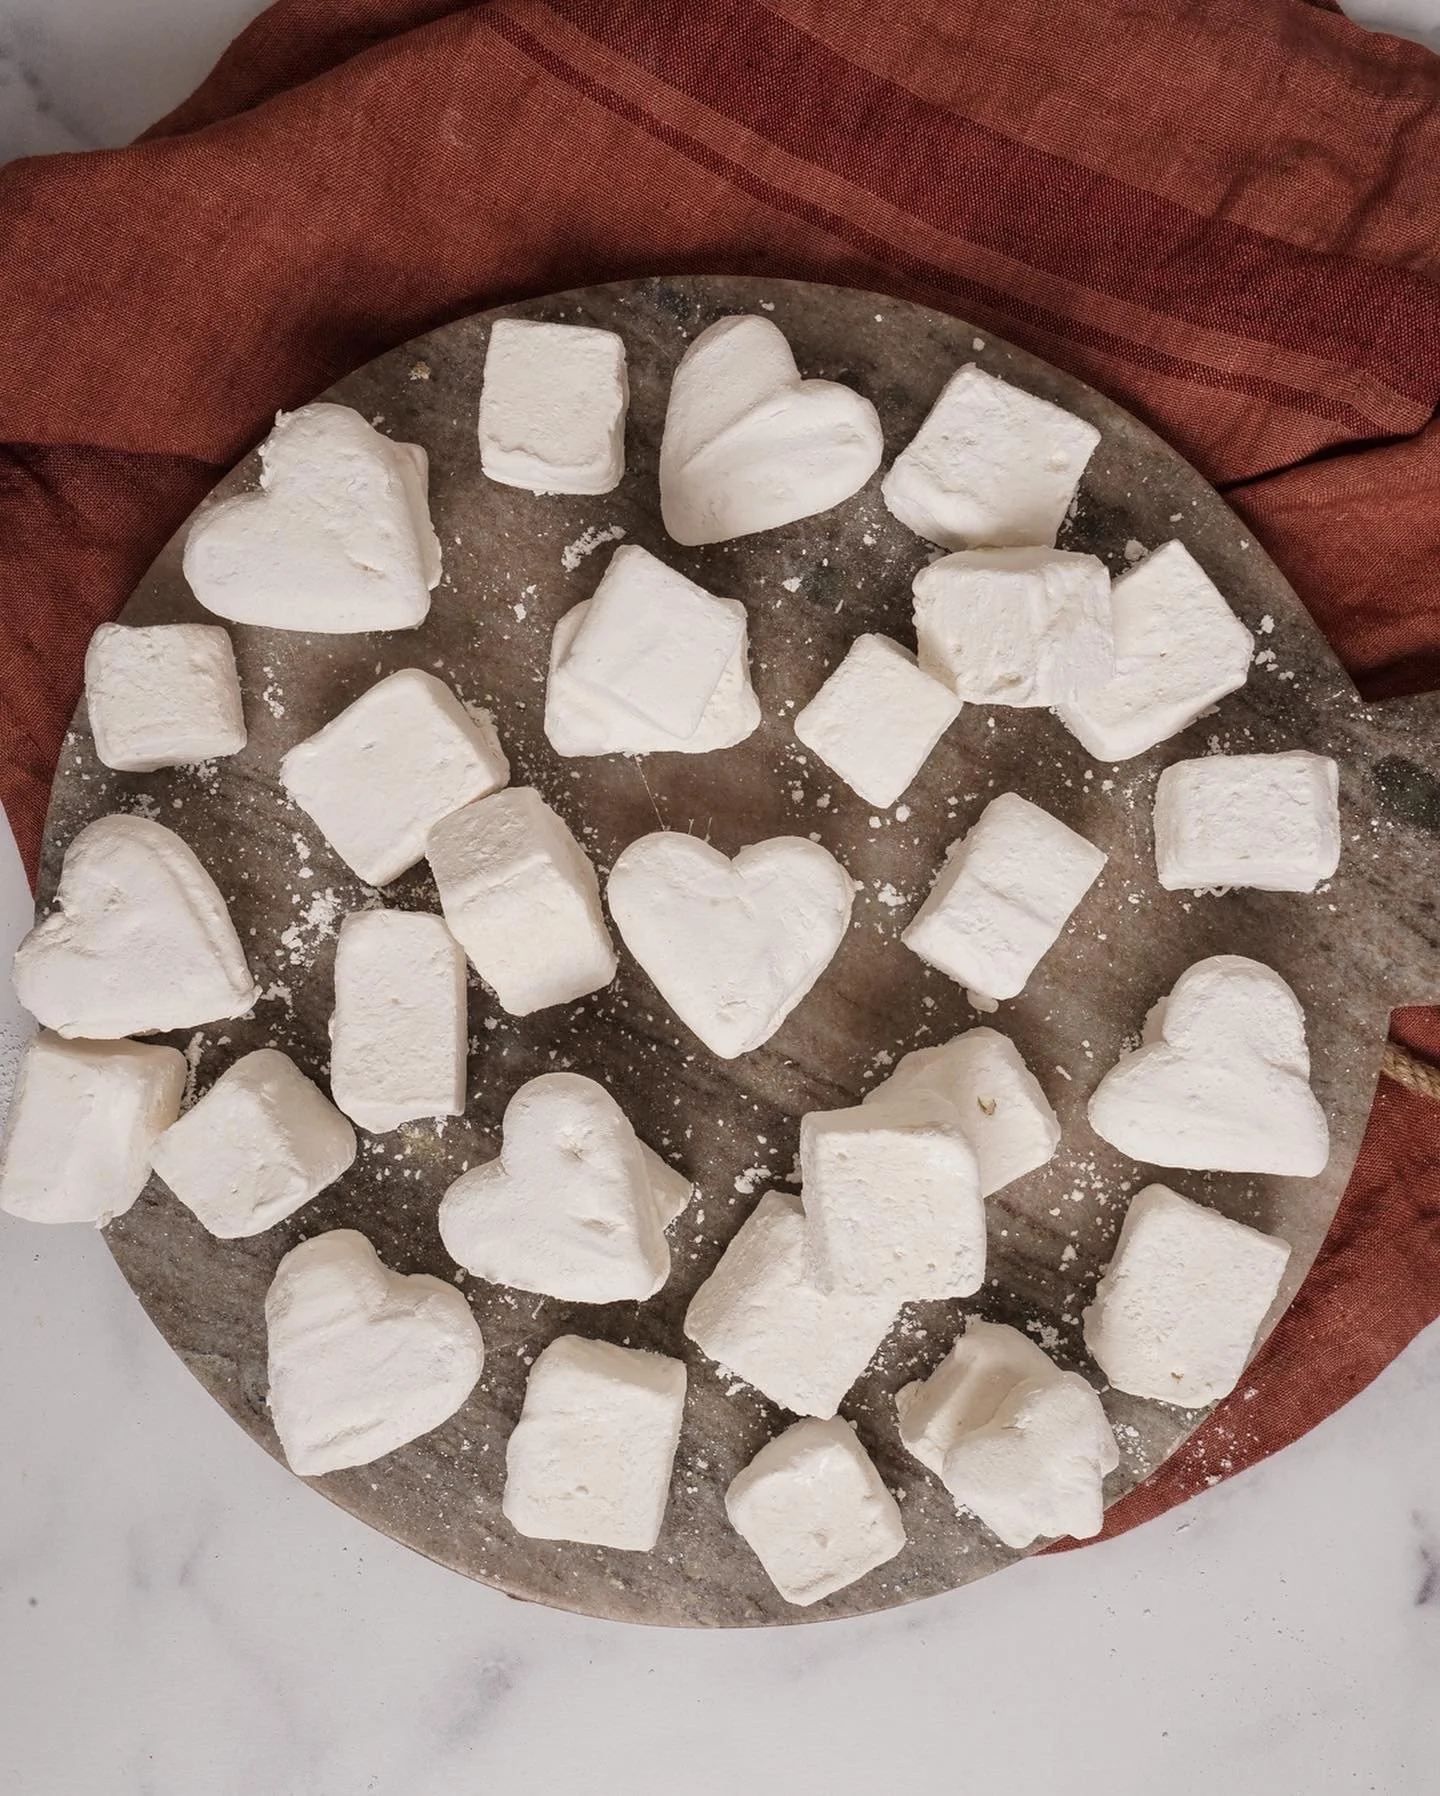
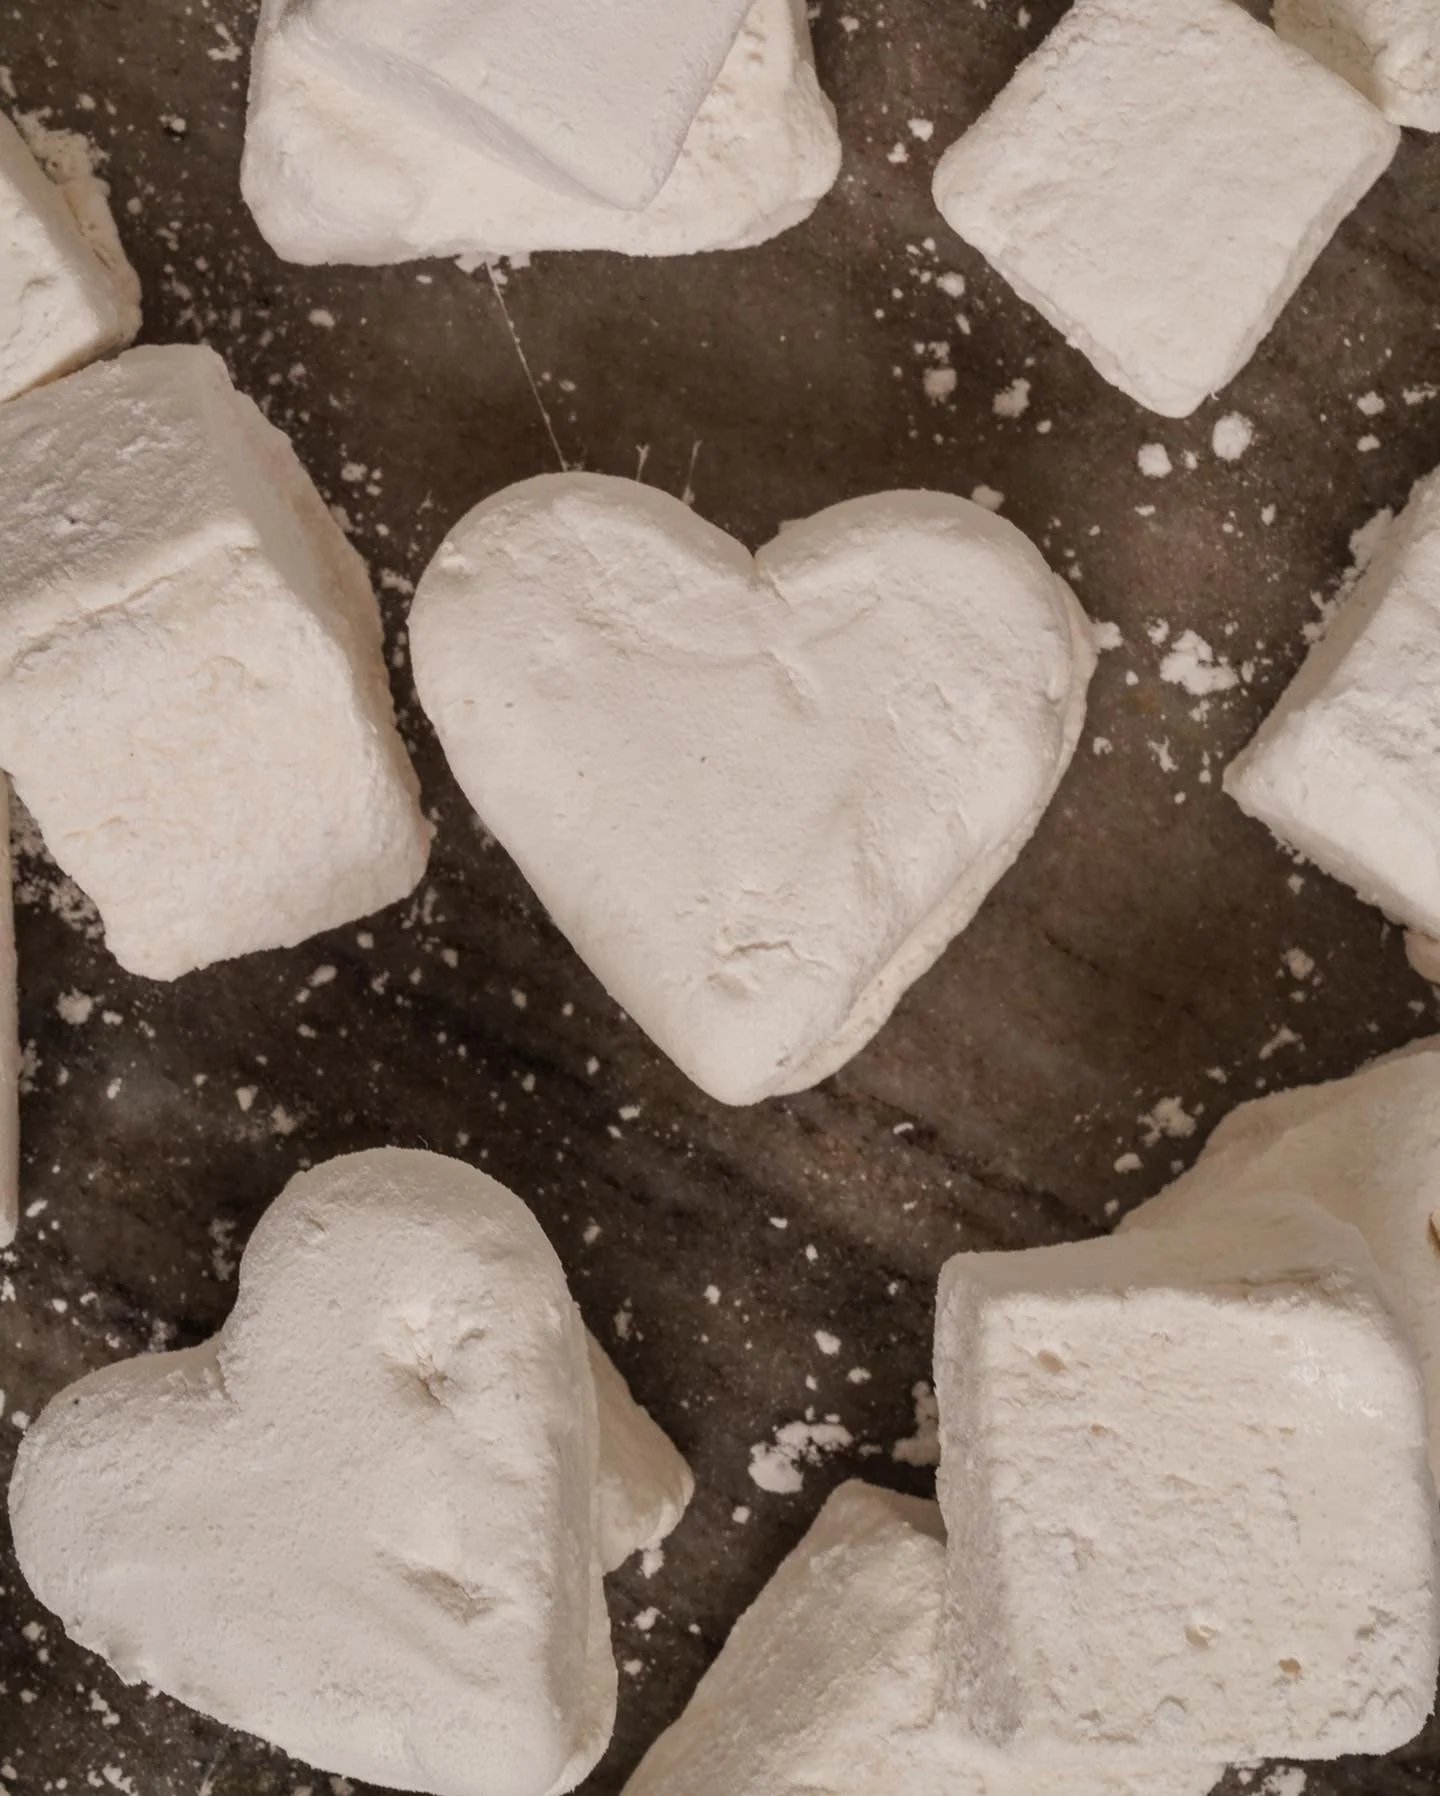
If you’ve never had homemade marshmallows before, you are in for a real treat. The flavor and texture is just miles above the typical grocery store variety. Marshmallows actually aren’t too tricky to make either. You do need a stand mixer and a candy thermometer, but otherwise the whole process only takes about 30 minutes start to finish (plus a couple hours for them to set). Marshmallows are extremely sticky, so when it’s time to cut the little suckers, I recommend using tons of powdered sugar and a pizza cutter. Coat the cutter and the marshmallows in the powdered sugar and cut away.
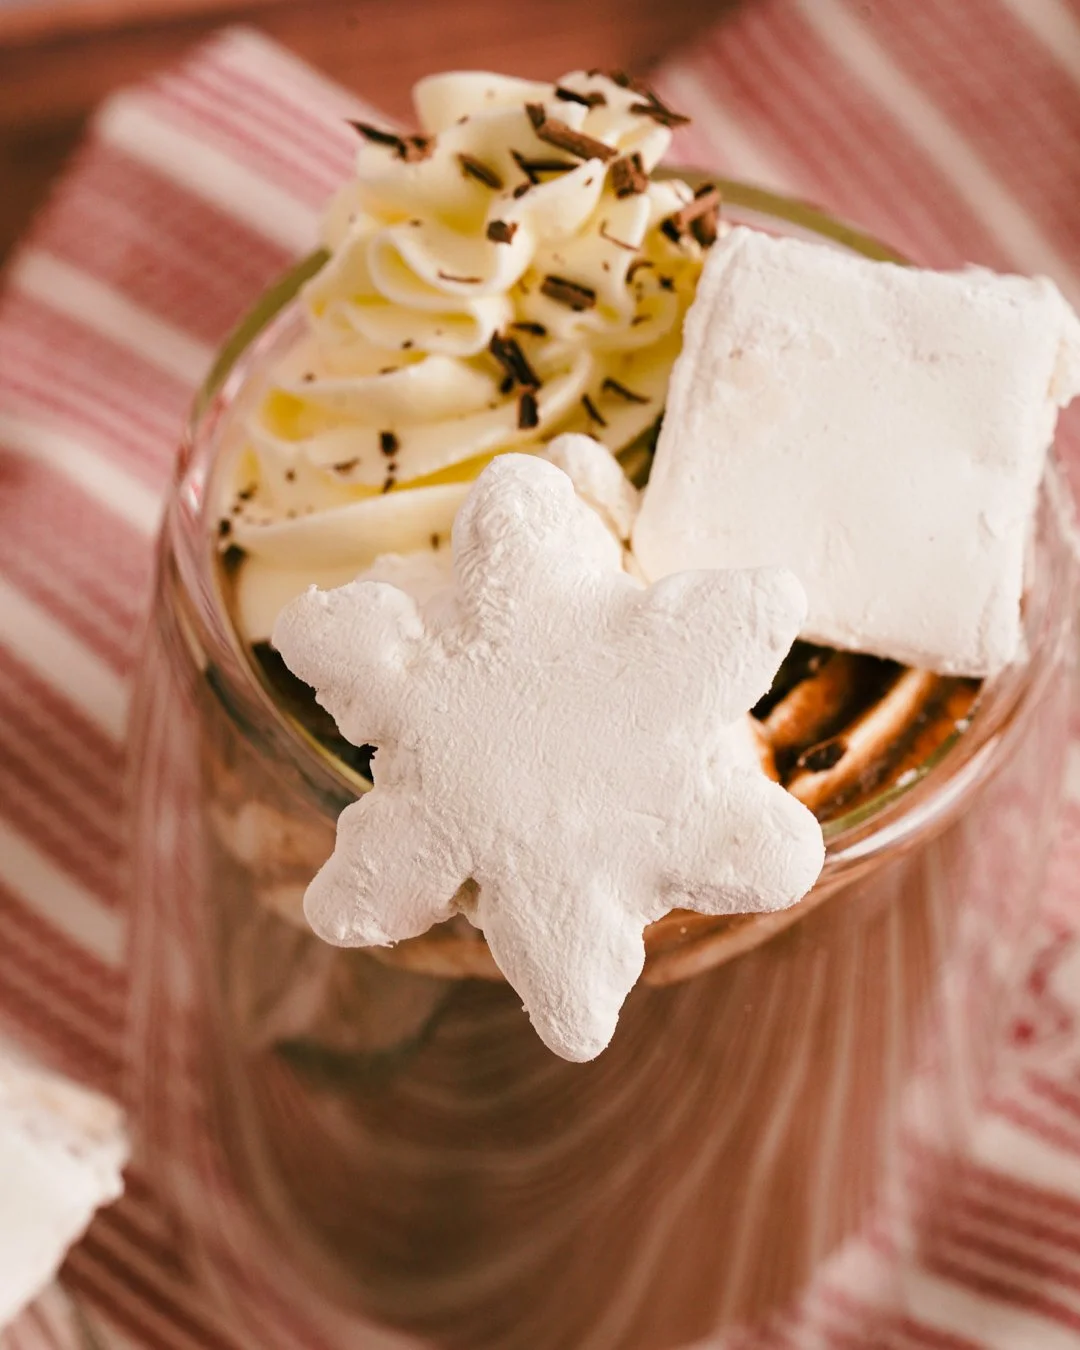
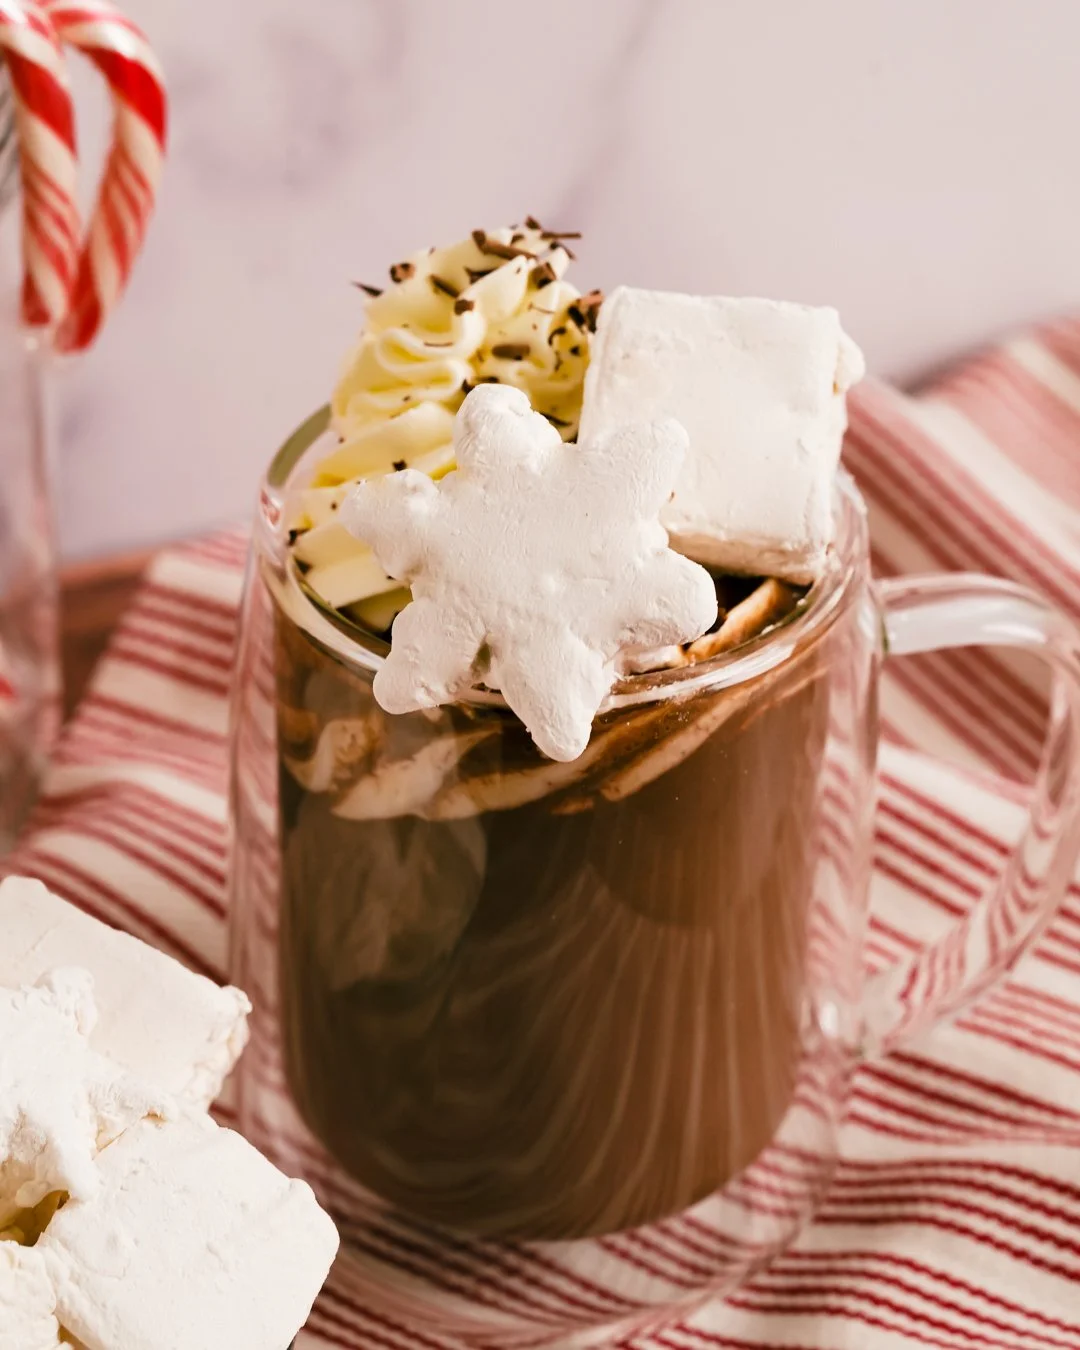
If you’re feeling ambitious, you can also make cute shapes in your marshmallows. Grab a cookie cutter, dip it in powdered sugar and press out adorable little marshmallow hearts, snowflakes, or stars. The cutting will be a bit messy, with sugar and marshmallow all over your counter, but the end result is absolutely worth the fun. Extra cut marshmallows can be stored in a mason jar in the refrigerator for up to 2 weeks, so we have a lot of fun eating them as treats on their own or adding them into our morning coffee.
Last but not least, homemade whipped cream is a breeze. I don’t always put my whipped cream into a piping bag, but for hot chocolate, it’s a really fun touch. Either way, a big pillowy dollop of cream on your cocoa is the perfect thing to make this a decadent wintertime must.
Homemade Marshmallows - Makes about 36
Equipment:
8 x 8in square baking pan
Candy thermometer
Stand mixer
Pizza cutter and/or small cookie cutters
Ingredients:
1 cup cold water, divided
2 TBS + 1 1/2 tsp. powdered unflavored gelatin
1 1/2 cups sugar
1 cup light corn syrup
1/4 tsp. kosher salt
1 TBS. vanilla extract
Powdered sugar for dusting
Method:
Butter and line all sides of the baking pan with parchment paper. I leave an overhang of paper on all sides for easier removal. Then coat all sides of the pan well with powdered sugar.
Combine 1/2 cup cold water and the gelatin in the bowl of the stand mixer fitted with the whisk attachment.
In a medium saucepan, combine the corn syrup, sugar, salt, and remaining 1/2 cup of cold water. Stir to combine, and then, swirling the pan occasionally, cook over medium heat until the mixture reaches 240ºF. This will take 8-10 minutes. Once you reach this temperature, remove the pan from the heat.
With the mixer running at low speed, slowly pour the hot sugar mixture into the gelatin mixture. Mix for a minute or two at low speed until the gelatin dissolves. Add the vanilla, and then increase the temperature to high, and mix until the marshmallow becomes very thick and turns white, 8-10 minutes.
Pour the marshmallow into the prepared pan. Smooth the top with a spatula, and place it, uncovered, in the refrigerator to set for a couple of hours or overnight.
To cut, remove the marshmallow from the pan. Coat your pizza cutter or cookie cutters in powdered sugar, and cut the marshmallows either into squares or shapes. Store marshmallows in an airtight container in the refrigerator for up to 2 weeks.
Homemade Whipped Cream - Serves 4
Equipment:
Hand held electric mixer
Piping bag + large star tip (optional)
Ingredients:
1 cup heavy whipping cream
2 TBS. sugar
Method:
Combine the cream and sugar in a large mixing bowl. Beat on high until the cream forms stiff peaks.
Homemade Hot Chocolate - Serves 2
Equipment:
Medium sauce pan
Fine mesh sieve
Whisk
Ingredients:
2 cups whole milk
3 TBS. sugar
2 TBS. unsweetened Dutch process cocoa powder
1/4 cup bittersweet chocolate chips
Method:
Heat the milk over medium until boiling. Once boiling, reduce the heat to low.
Add the sugar, cocoa powder, and chocolate chips to the milk. Whisk until the chocolate is fully melted and incorporated. Pour through the sieve into 2 mugs. Garnish with homemade whipped cream, homemade marshmallows, and chocolate shavings.
Marshmallow recipe adapted from The New York Times