

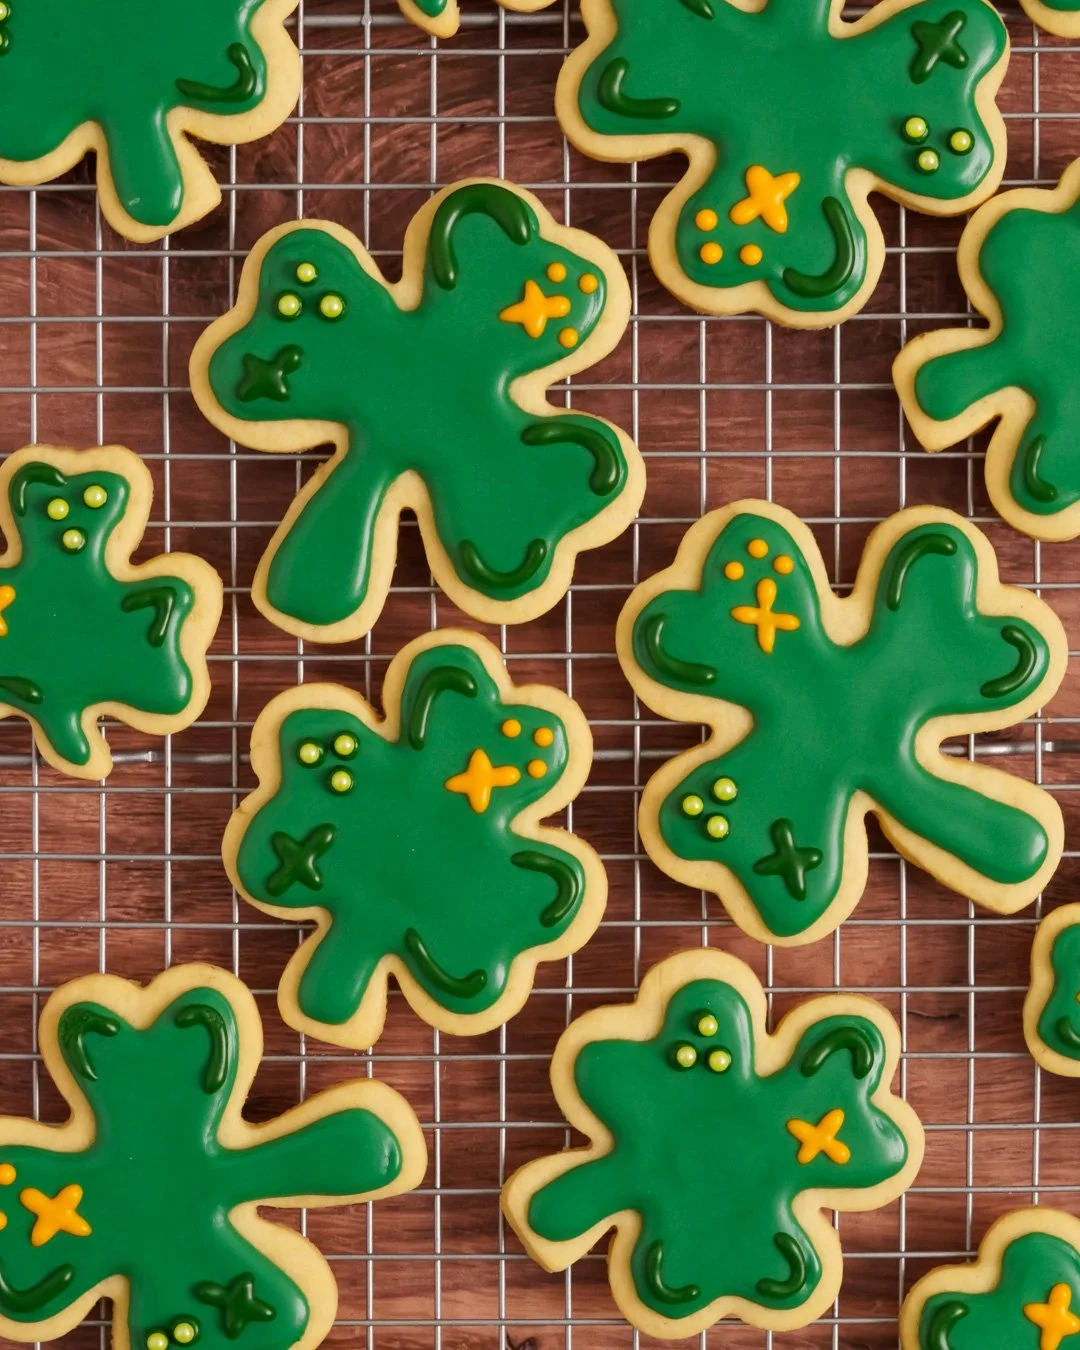
Iced Sugar Cutout Cookies

No matter the holiday or occasion there is really nothing more festive or nostalgic than a buttery sugar cookie topped in gorgeously smooth and colorful royal icing. As with most families, iced sugar cutout cookies have been a long standing Christmas tradition in our house, but I also love making this same recipe for Easter, Halloween, Valentine’s Day, and any other special occasion that calls for a little extra sugar and shine.
I have basically been making the same recipe for years. However, when I moved out of the humid East Coast and into dry Colorado, my cookie dough recipe needed a little tweaking. I’ve adjusted this recipe so that you can add milk as needed to get to the right consistency. Some days I don’t need to add any, and other days I need to add up to 3TBS. to get a nice tacky dough that doesn’t crumble and holds its shape. As you’re mixing, you’ll want to add milk 1 TBS. at a time and mix well between each addition until you get to this consistency. Too little moisture will result in a brittle dough that’s frustrating to roll and cut, while too much milk will make a sticky, wet dough that clings to fingers, rolling pin, and cutting board alike. Besides the proper moisture level however, this is a simple recipe that’s perfect for making with kids.

I decorate my cookies with royal icing as opposed to a butter cream or some other kind of frosting. Royal icing dries hard to give a beautifully smooth surface, and it allows you to layer colors in various patterns, designs and thicknesses that other frostings don’t. Also, royal icing helps these cookies keep well. You can decorate the cookies one day, and they will still taste amazing a week later. I love that for Christmas time when I’m busy cooking other things but still want to have good cookies to leave out for Santa.

As for the royal icing, you can go as simple or fancy as you want with this stuff. If you’re looking for that perfect frosted cookie finish, load the icing into piping bags fitted with small round tips, and go to town flooding and dolloping and all the things. But if you’re making these cookies with kids, I recommend just putting the differently colored icing into bowls with little spatulas or the plastic lidded icing bottles you can buy online. That way little hands can create independently and just have a sugary, messy, cookie ball. I’ve hosted many a kid cookie decorating party like this, and it’s always a big hit, especially if you have different candies and sprinkles the little artists can also use to top their masterpieces.

This royal icing recipe calls for meringue powder, which I love because it’s safe for all, unlike the traditional raw egg whites, and it works beautifully. I have a hard time finding meringue powder, so I order it online, but it’s worth having around. I also prefer gel food coloring over regular food coloring for royal icing as it doesn’t alter the liquid content or consistency of the icing.

Once you mix up your icing and dye it to your desired colors, you can store royal icing in piping bags for a few months in the freezer, which makes preparing for a cookie party even easier. When you’re ready to decorate your cookies, simply thaw the icing in the refrigerator over night and then give your piping bag some good massages to reincorporate any color that has settled out. Et voila! You’re all set to make the most beautiful cookies ever!

Sugar Cutout Cookies - Makes about 2 dozen
Equipment:
Stand mixer
Baking sheets
Cookie cutters
Rolling pin
Ingredients:
2 1/2 cups all-purpose flour
1 tsp. baking powder
1/2 tsp. salt
1 cup (2 sticks) unsalted butter at room temperature
3/4 cup sugar
1 egg + 2 egg yolks
1 1/2 tsp. vanilla extract
0-3 TBS. whole milk, as needed
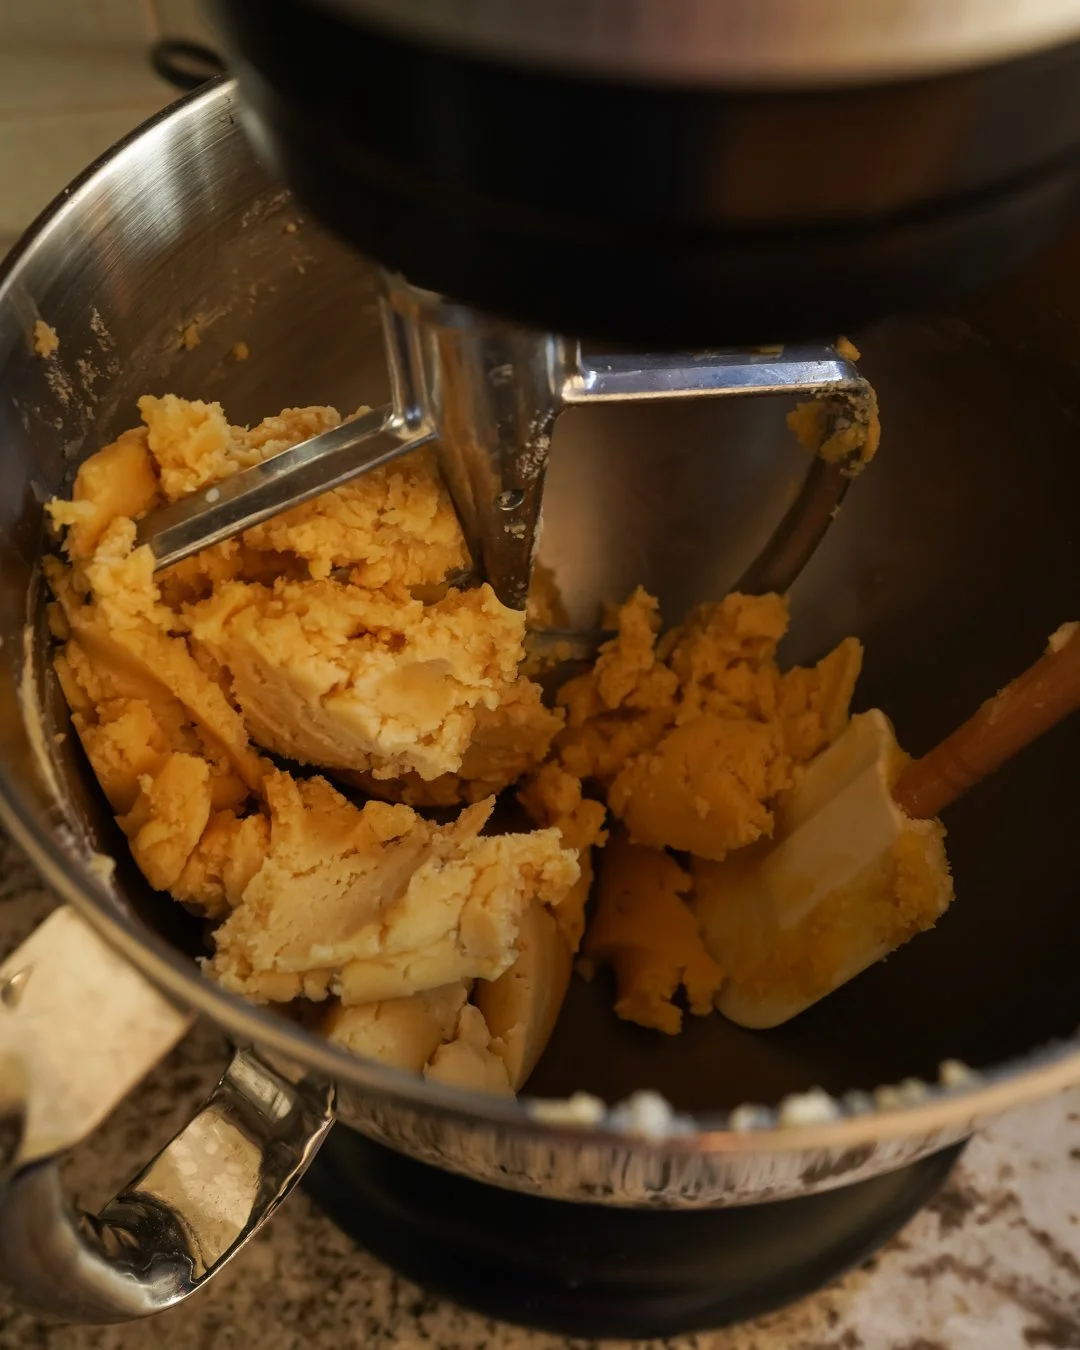
Sugar cookie dough at the correct consistency
Method:
In a medium mixing bowl combine the flour, salt, and baking powder, and whisk them together well with a fork. Set aside.
In the bowl of a stand mixer fitted the paddle attachment, combine the sugar and the butter. Mix on medium speed until the sugar is fully incorporated and the butter is fluffy. Add the egg + yolks and mix again to combine before adding the vanilla. Mix again, scraping down the bottom and sides of the bowl with a rubber spatula as needed.
In two sections, add the flour mixture to the butter mixture. Mix until the flour is fully incorporated. At this point assess the dough’s moisture. If the dough looks crumbly with the consistency of sand, it is too dry. If it is already forming a ball and feels tacky, it’s perfect. If the dough is too dry, add milk, one tablespoon at a time. Mix well in between each addition, and only add enough to bring the dough together into a tacky ball.
Remove the dough from the stand mixer and divide it into 3 portions. Shape each portion into a disk, wrap each disk in plastic wrap, and store them in the refrigerator for several hours or up to three days.
When you’re ready to bake, remove the dough from the refrigerator and allow it to warm up on the counter for 20-30 minutes. If the dough is too cool, it will crack when rolling, so letting it warm up is critical to frustration free baking.
Preheat the oven to 350ºF, and line 2 or 3 baking sheets with parchment paper. I use the convection bake setting, and set my oven rack in the middle of the oven.
Roll the dough 1/4-1/2 in thick on a lightly floured work surface. Use cookie cutters to cut out cookies. Then transfer the cookies carefully to the prepared baking sheet, leaving an inch between each cookie. Bake for about 8 minutes, until the cookies are slightly puffed and just lightly golden.
Allow the cookies to cool for a few minutes on the pan before transferring them to a wire rack to finish cooling. Let the cookies cool completely before decorating.

Royal Icing - Makes enough to fully ice 1 batch of sugar cutout cookies
Equipment:
Stand mixer
Piping bags + tips, icing needle, sprinkles, + candies for decorating (optional)
Ingredients:
4 cups powdered sugar, sifted
3 TBS. meringue powder
9-14 TBS. room temperature water
Gel food colorings (optional)

Method:
In the bowl of the stand mixer fitted with the whisk attachment, combine the powdered sugar and meringue powder. Whisk on low for a minute or two to even distribute the meringue powder.
With the mixer running on medium low, add 9 TBS. of water. Continue whisking until all the sugar is fully incorporated and the icing looks shiny and smooth. Scrape down the sides and bottom of the bowl and then evaluate the consistency. If the icing drips from the spatula and melts back into the rest of the icing within 5-10 seconds, then you have a good consistency. if its too thick, add more water a TBS. at a time. If it’s too thin, continue whisking and the icing will thicken up. Some people prefer to have thinner icing for flooding cookies and thicker icing for detail work, but this is a personal preference. I usually use the same consistency for everything.
Once the icing is to your desired consistency, add food coloring and mix to fully incorporate. You can dye all the icing one color or break it into batches to make many shades. Once you’re happy with your icing, load it into piping bags or little dishes and decorate your cookies!
Royal icing will keep in piping bags at room temperature in for many hours or stored in the refrigerator for several days. Extra icing can be frozen for a few months and thawed for future use.
Cookie recipe adapted from Williams Sonoma & icing recipe adapted from Sally’s Baking Addiction