

Creamy Pumpkin Pie

Are you a pumpkin, a pecan, or an apple pie person at Thanksgiving? In truth, I’m all three, but if I had to choose just one, it would be pumpkin every time. So of course pumpkin was one of the first pies I learned to make. But if you’ve made a scratch pumpkin pie, you’ll know that most recipes call for sweetened condensed milk or canned pumpkin pie filling. Canned pie filling doesn’t quite qualify for a scratch made pie, and frankly, condensed milk freaks me out a little bit. While I’m no nutritional purist (hello this is a pie recipe and I just confessed that I routinely eat three slices at Thanksgiving dinner), sweetened condensed milk has always struck me as more processed, less fresh, and just not as good as the real stuff: cream, sugar, and eggs. So over the years I have been seeking and trying out recipe after recipe for a pumpkin pie made with the stuff the original Americans would recognize.
It’s taken me a long time to get this pie where I wanted it to be. Some fillings didn’t set correctly or they were stodgy or too spicy or not spiced enough. Some pies had way too much going on: candied hazelnuts, a chocolate swirl, or caramel shards. While fancy, I found these elements just took a lot of extra time and really only distracted from the mediocre filling and crust.

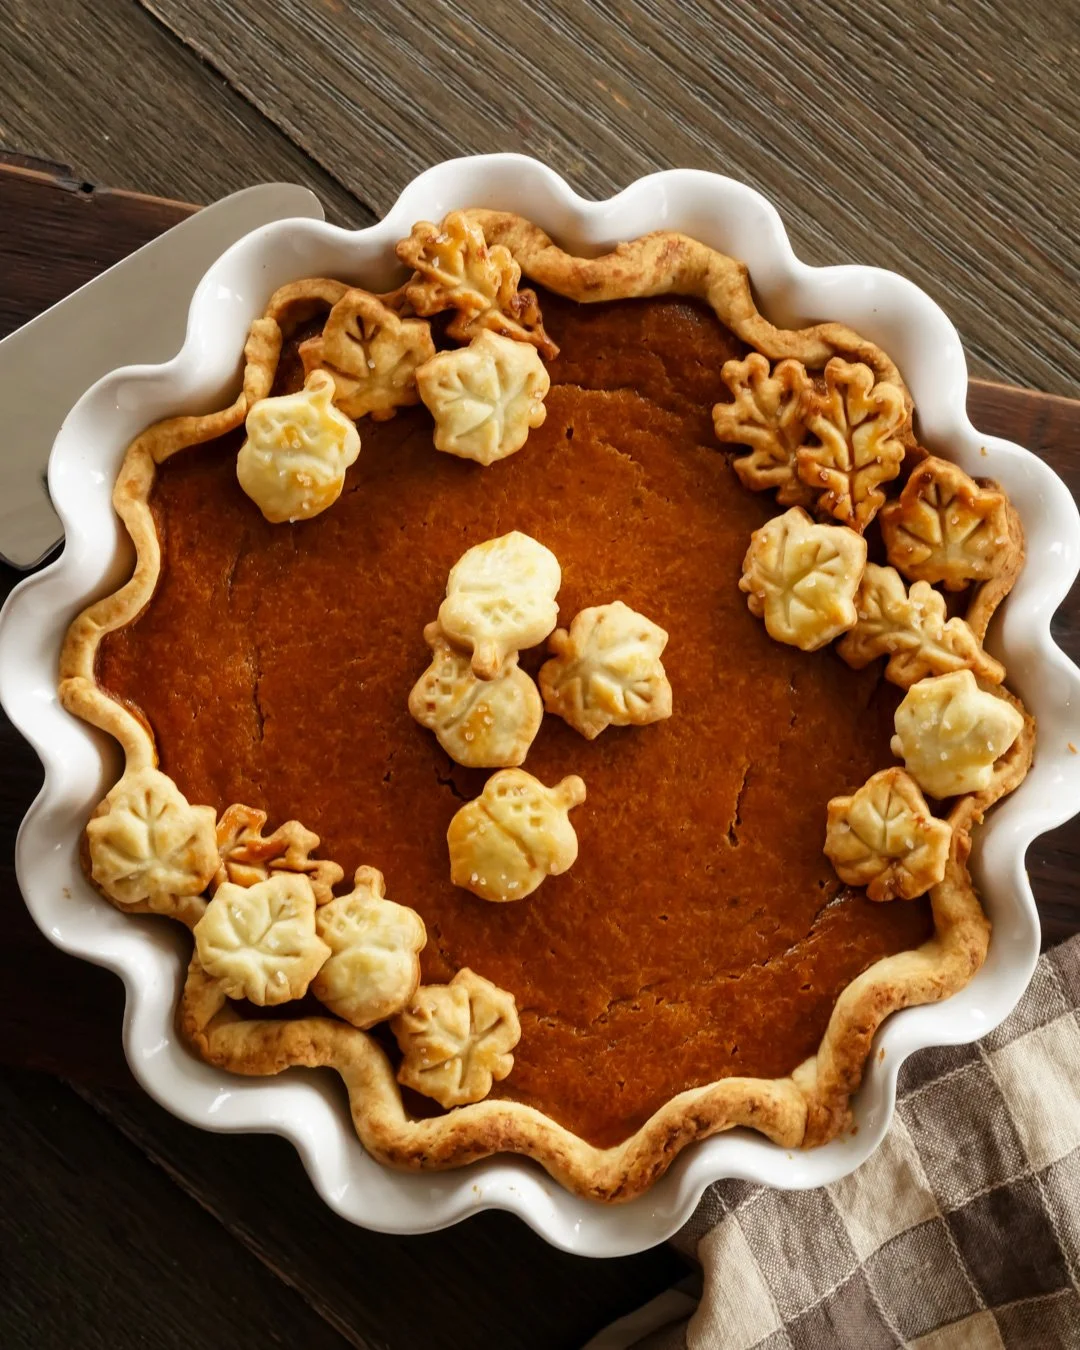
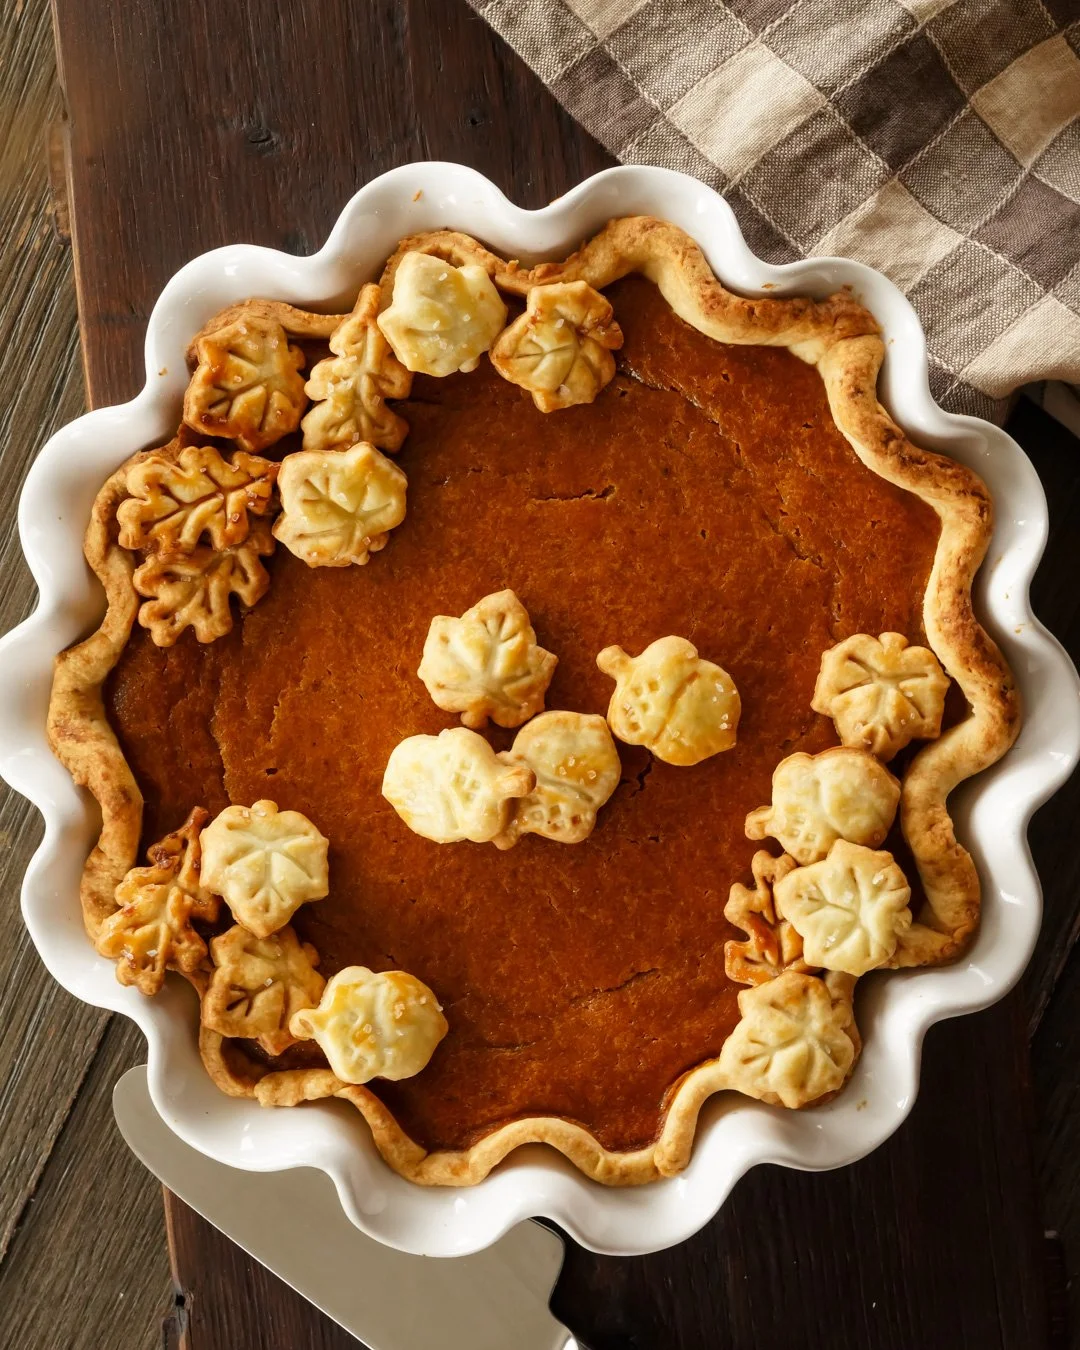
However, this pumpkin pie has just the right amount of spice and is incredibly light, creamy, and custardy, perfect for after a big turkey dinner. It’s traditional in flavor profile, but the texture is so much better than the ubiquitous sweetened condensed milk pies from Costco. This filling paired with my all-butter pie crust and fresh whipped cream really is the perfect Thanksgiving pumpkin pie.
If you’re worried about preparing a scratch pie, I will say this is a pretty good pie to start with. You only need to make one crust (a second batch of dough for decorations is optional), and the filling is just measure, mix, pour, and bake. The ingredients themselves are easily found and easy to put together.
That being said, the most important trick to making a perfect pie is simply time. You cannot rush a pie. Don’t rush chilling the pie dough. Don’t rush cutting, rolling, or decorating your dough. Don’t rush the baking. And do not rush chilling the pie after it’s cooled. If you give your pie ample time, it will reward you by being the most delicious pie you have ever made (and probably ever eaten as well).
To afford yourself enough time on Thanksgiving, I absolutely recommend that you make the pie dough two days before turkey day, and then make the pie the day before. Making the dough takes honestly five minutes, but having properly rested and chilled dough will make rolling so much easier and faster the next day. Then there’s baking. This pie does require a long time baking, so you don’t want to wait to bake the pie on Thanksgiving when your oven will be otherwise engaged with turkey, stuffing, and all sorts of delicious vegetables. This filling also needs plenty of time to chill before cutting, so baking the pie the day before you want to eat it is really the way to go.

All-Butter Pie Crust - Makes 1 pie crust
Equipment:
Ingredients:
1 1/2 cups all-purpose flour
1/2 tsp kosher salt
1 TBS. sugar
1 stick cold unsalted butter, cubed
1/4 cup cold water
Method:
Pulse the flour, sugar, and salt together in a food processor a couple of times to mix.
A few cubes at a time, add the butter to the flour mixture, pulsing in between each addition. Continue until all the butter is added and the mixture takes on a sand-like texture.
Add the water a tablespoon at a time, pulsing several times between each addition. Pulse until the dough begins coming together in a ball. Only add the 4th tablespoon if the dough is too dry to come together.
Remove the dough, form it into a disk, and wrap in plastic wrap. Store the dough in the refrigerator for at least 2 hours, but preferably overnight or a couple days before baking.
Remove the dough from the refrigerator, and allow it to warm up for about 20 minutes. On a lightly floured surface roll out the dough into a round that’s slightly larger than your pie dish (about 13in. diameter). For neat edges, trim the dough into a nice circle. Transfer the round to your pie dish, and gently press the dough down evenly along the bottom and walls of the dish. Fold the edges under themselves and crimp or shape the edges in your preferred method. To avoid shrinking, chill the dough in the refrigerator for 15-30 minutes more.
Preheat the oven to 375ºF.
Par bake the crust. Prick the bottom all over with the tines of a fork, line the crust with parchment paper and baking beans, and then bake in the preheated over for 10 minutes. Remove from the oven and take out the parchment paper and beans. Then bake again for 7 more minutes
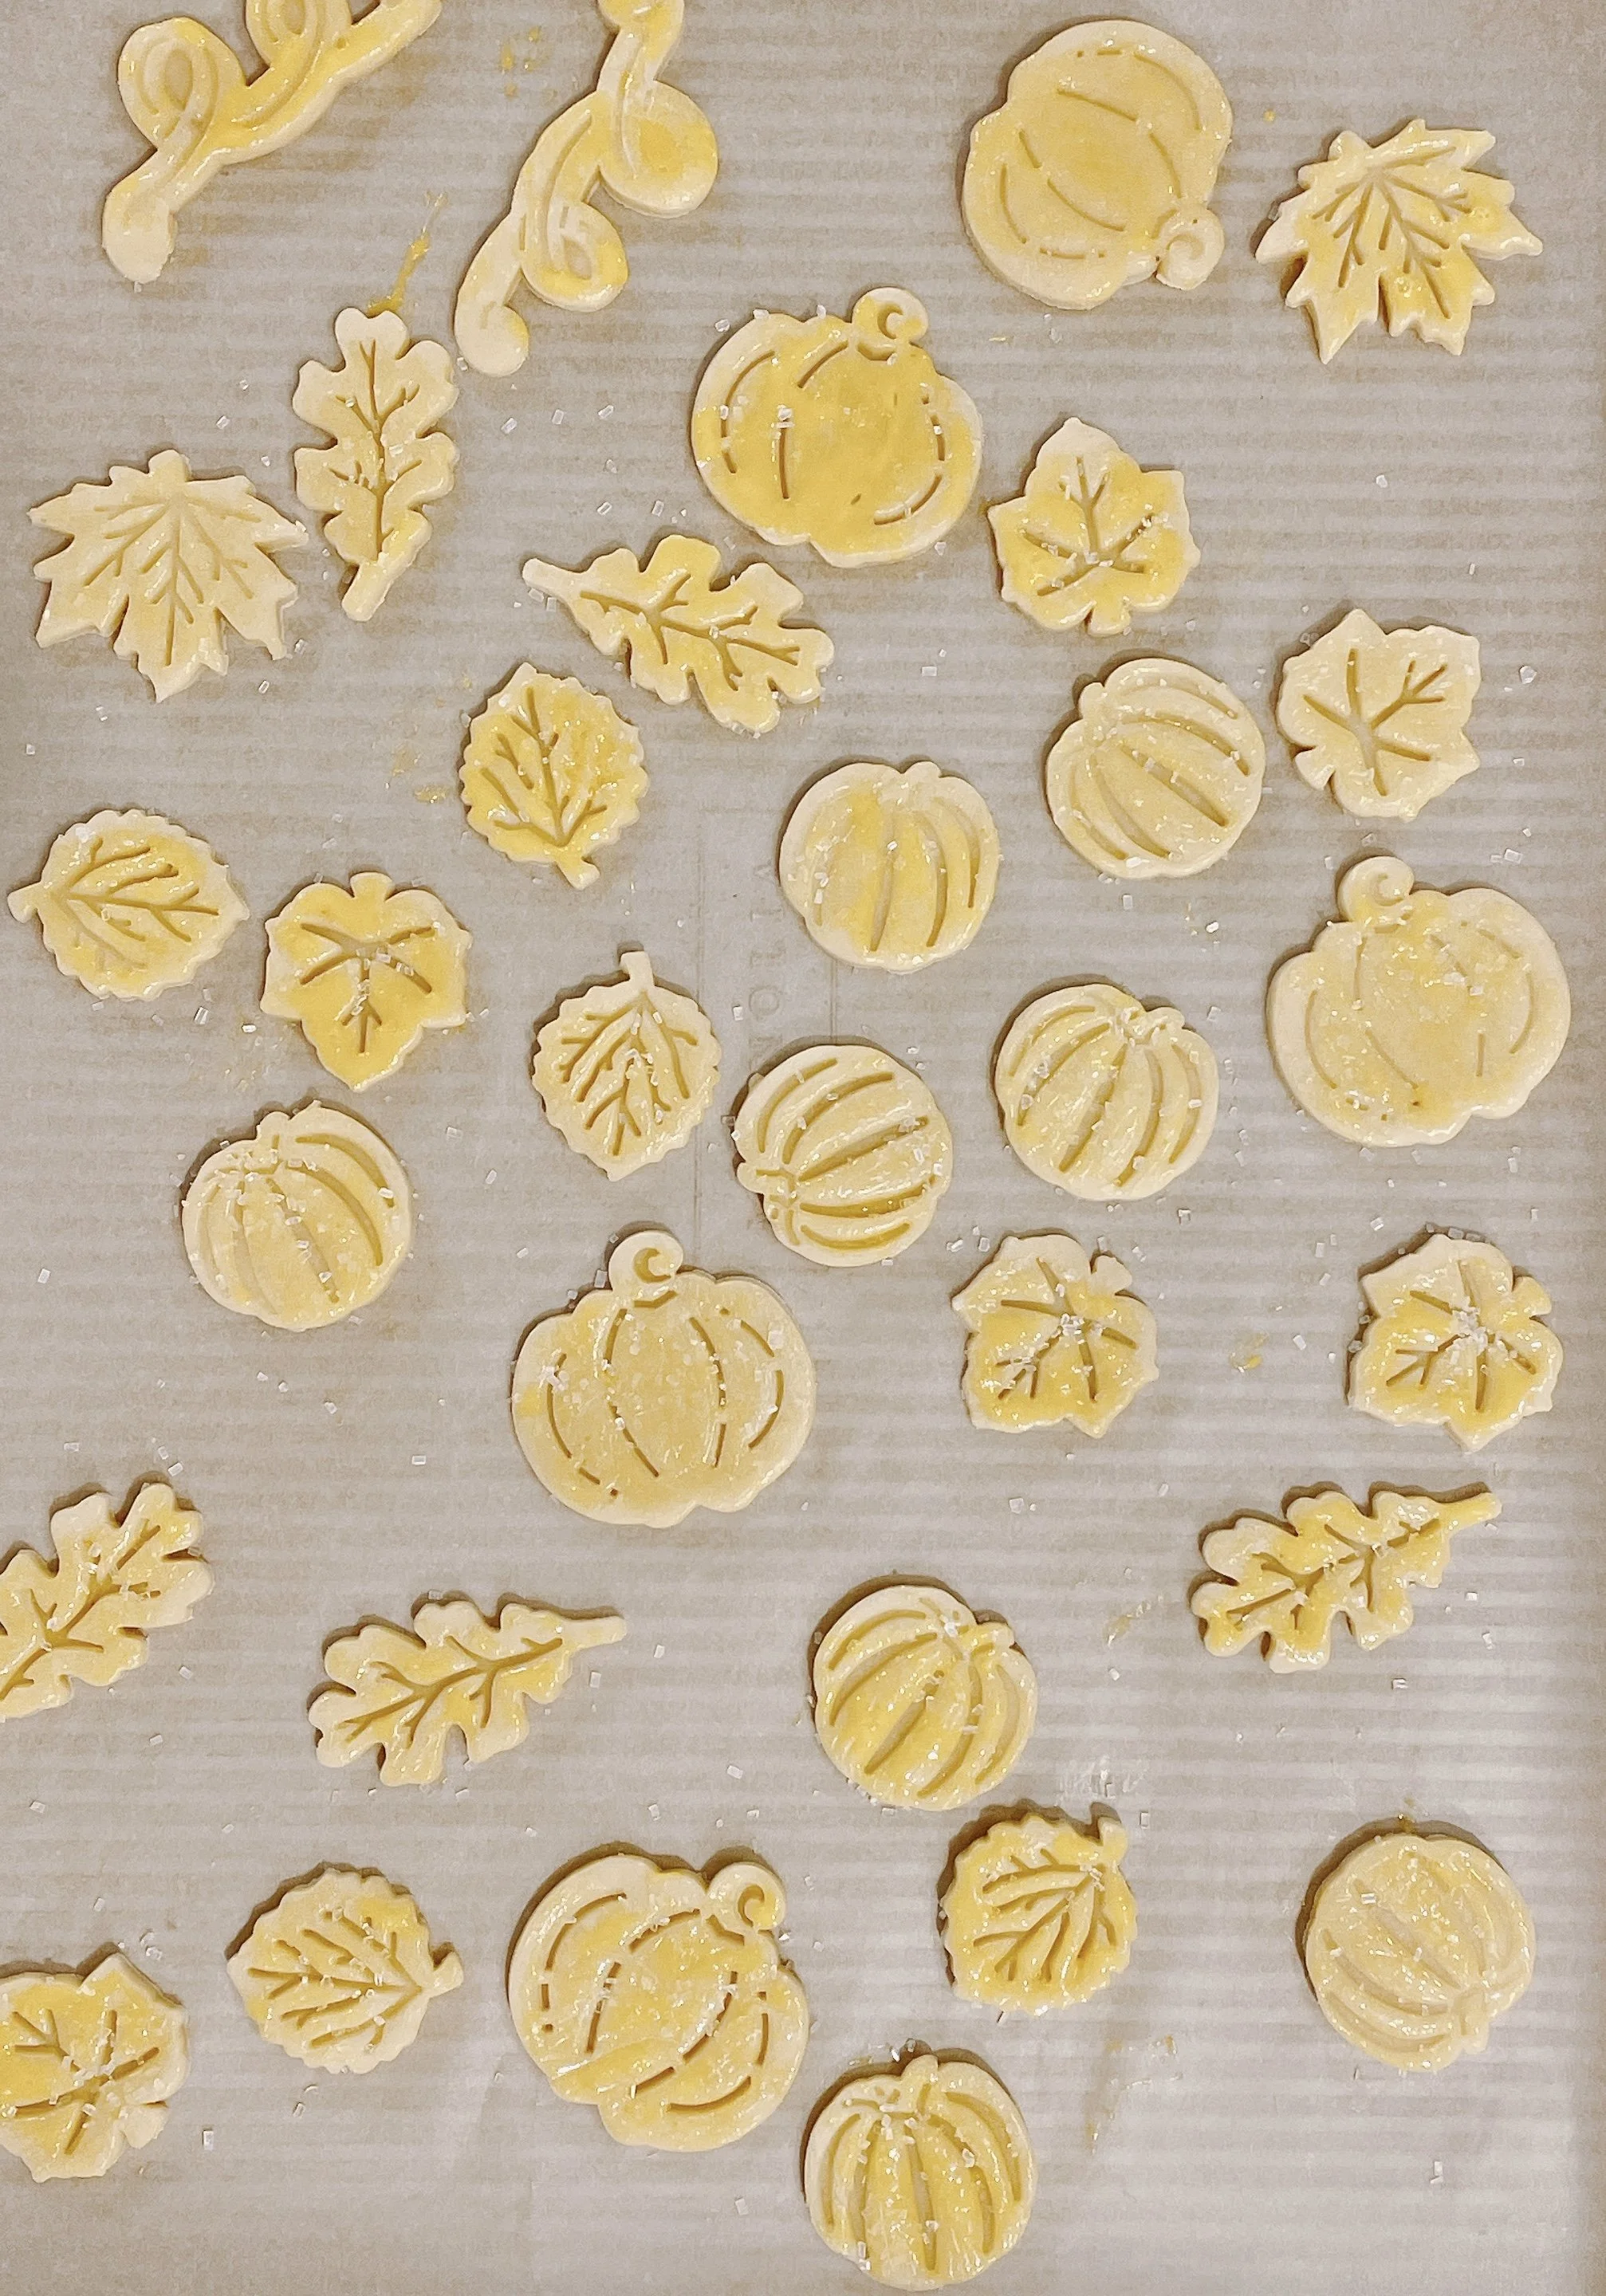
Optional: use remaining dough scraps to make festive decorations Remove the dough and let it warm up, then roll it flat and use pie crust cutters to make cute cutouts. Chill these on a baking sheet for at least 15 minutes in the refrigerator, then brush lightly with an egg wash and sprinkle with coarse sugar, and bake in the oven at 375ºF for 10-15 minutes or until golden. Remove and set aside to decorate the top of your pie.
Creamy Pumpkin Pie - Makes 1 pie
Equipment:
Baking sheet
Ingredients:
1 par baked pie crust
1 15oz. can pumpkin puree
3 eggs
1 + 1/4 cup brown sugar
1 TBS. cornstarch
1/2 tsp. kosher salt
1 + 1/2 tsp. ground cinnamon
1/2 tsp. ground ginger
1/2 tsp. ground ginger
1/8 tsp. ground cloves
2 grinds freshly ground black pepper
1 cup heavy cream
Scant 1/4 cup milk
Fresh Whipped Cream for serving (optional)
Method:
Preheat the oven to 375ºF.
In a large mixing bowl, whisk together the pumpkin puree, brown sugar, and eggs. Add the remaining ingredients and whisk very well so that no clumps remain.
Pour the filling into the warm par baked pie crust. Carefully place the pie onto the baking sheet and transfer it to the oven. Bake for 45-60 minutes or until the filling is mostly set. There will be a slight jiggle in the middle of the pie. (NOTE: if you use a shallow tart pan, your bake time will be shorter, so watch your filling carefully and remove the pie before the middle fully sets to avoid a cracked filling). I usually bake my pie with a pie shield or aluminum foil from the beginning to avoid burnt edges. If your edges are not browned enough, remove the shield 15 minutes before the end of baking.
Allow the pie to cool completely before serving. Optionally, top the pie with festive pie crust cutouts after the filling has fully chilled. Serve with a healthy dollop of whipped cream.
Pie filling adapted from Sally’s Baking Addiction